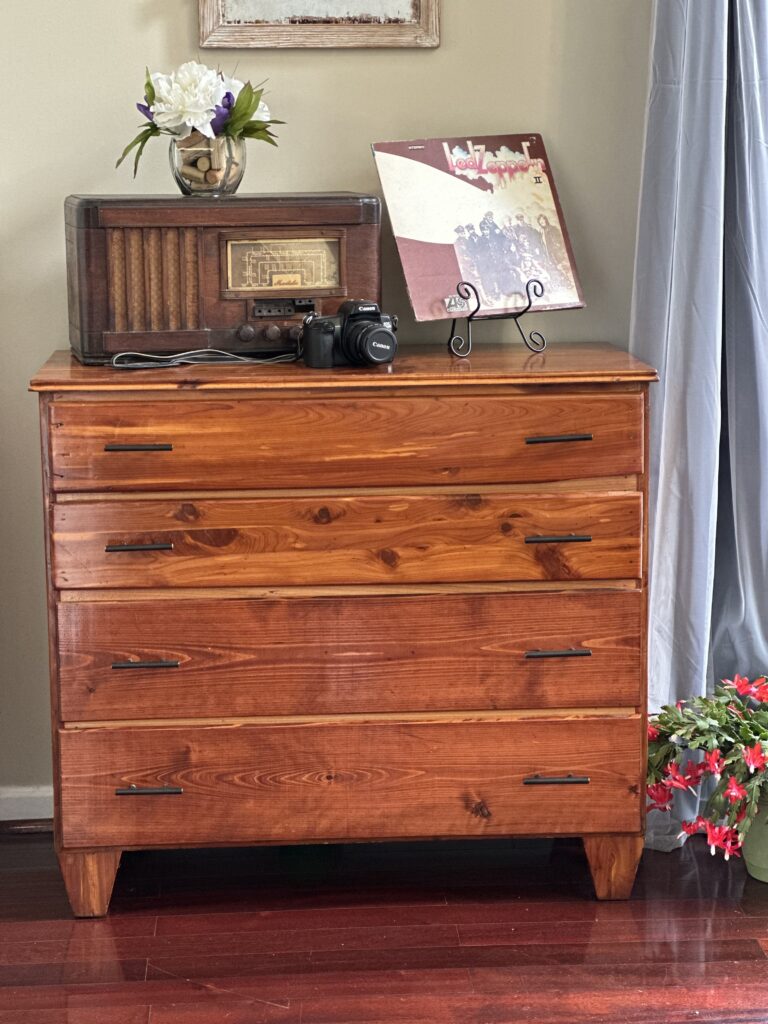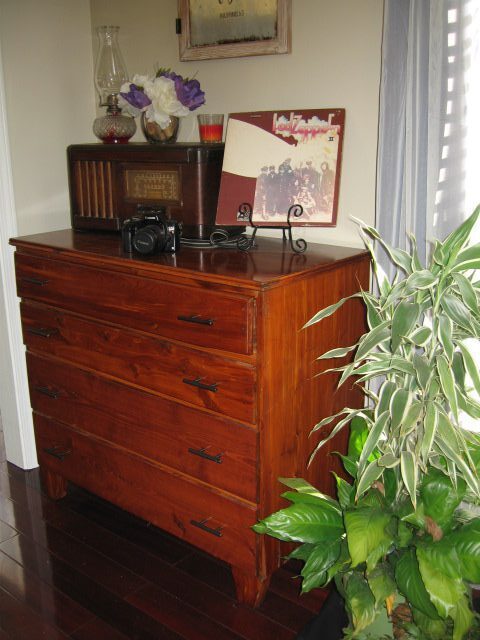
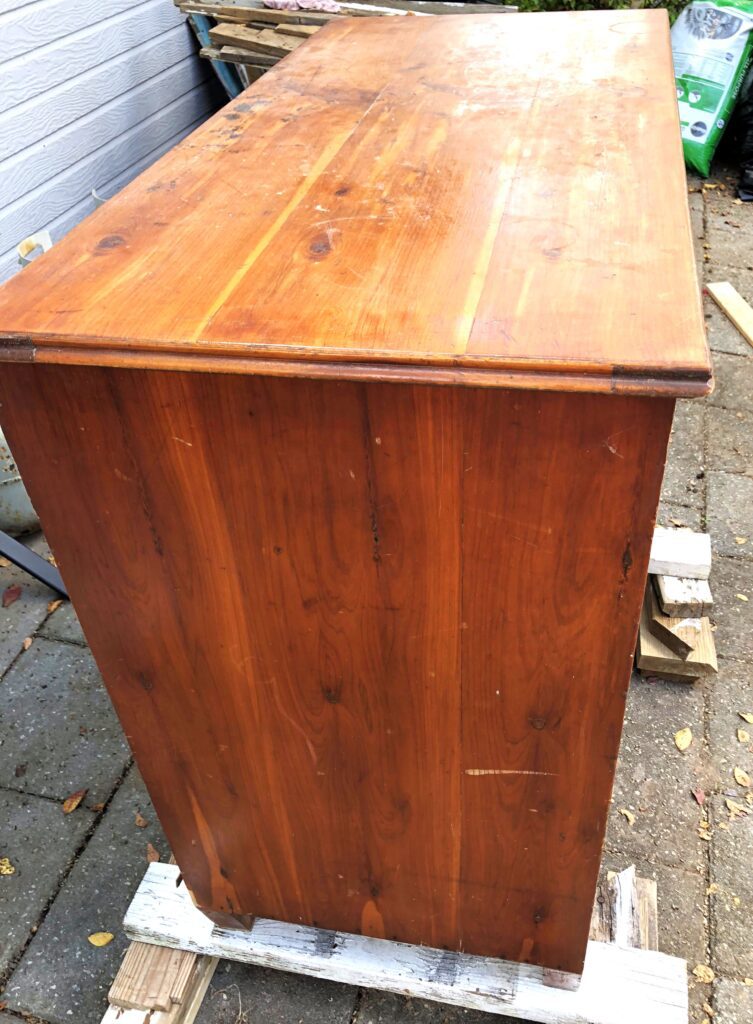
Staining and finishing furniture does not need to scare you. Repairing and finishing this cedar chest of drawers has been so fulfilling for me. Eastern Red Cedar has such a unique color and warmth that I have fallen in love with the look. I don’t want the log cabin all cedar look, but a few pieces scattered in my home makes me happy.
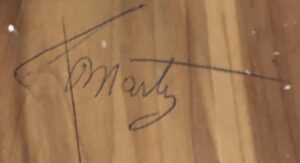
My parents loved a good yard sale or thrift store more than I do (which is a lot). They found this chest of drawers second hand and had it in their home. When I asked Dad for it, he said I could have when he decided to get rid of it. Bummer, I don’t have a lot of patience but forgot about it until we were clearing the furniture from their home. I brought the chest home with me to restore it and use it. The best part of this story is that my father had written my nickname that he used for me in one of the drawers of the chest to show that it was to be mine. I will never get rid of this chest….
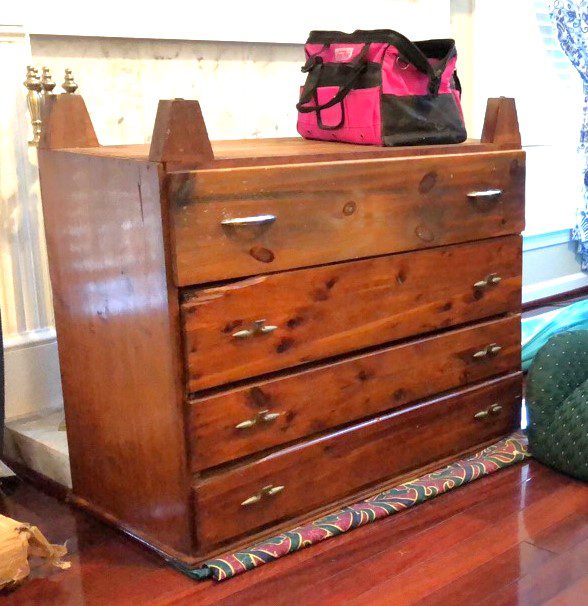
It had a broken or missing supports between the drawers, It also had cracked drawer fronts on two of the drawers and needed to be replaced. I didn’t realize there are more than one type of cedar. I thought it was all the same.
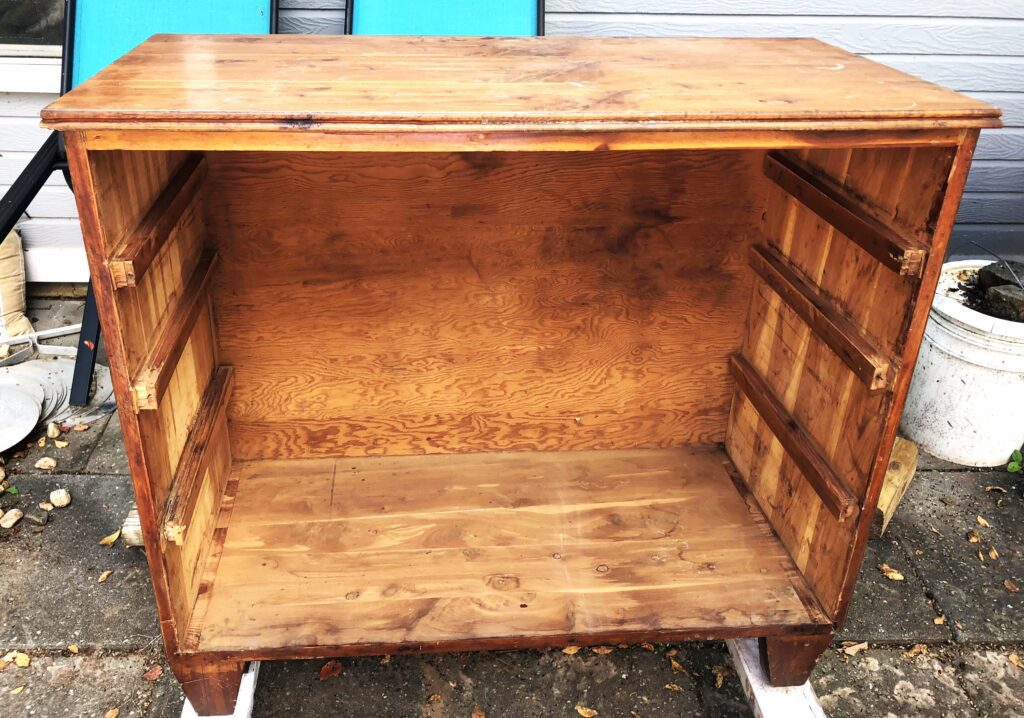
Hubby and I went to the local Home Depot and got a couple of cedar boards to use for the repairs. After I got the rest of the chest stripped from the old varnish, I realized it was very different from the new boards. I researched cedar boards convinced what we bought was not actually cedar and that’s when I discovered different types. Since that was the only type of cedar board they had, we would have to match the color using stain on the new wood.
If you can’t find an exact match for your project with the stain options, make your own using two or more colors mixed together. You will need to do care measuring to get the ratio right so you can make more if you run out. That is just what we did.
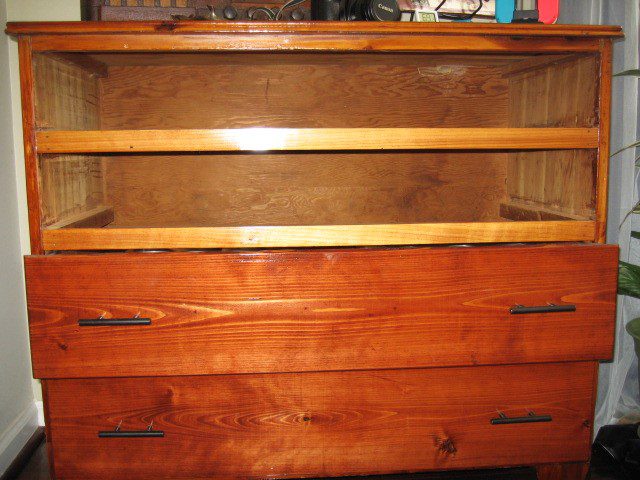
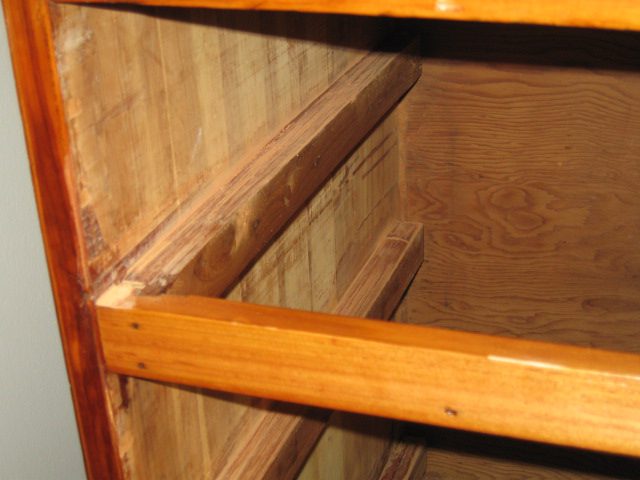
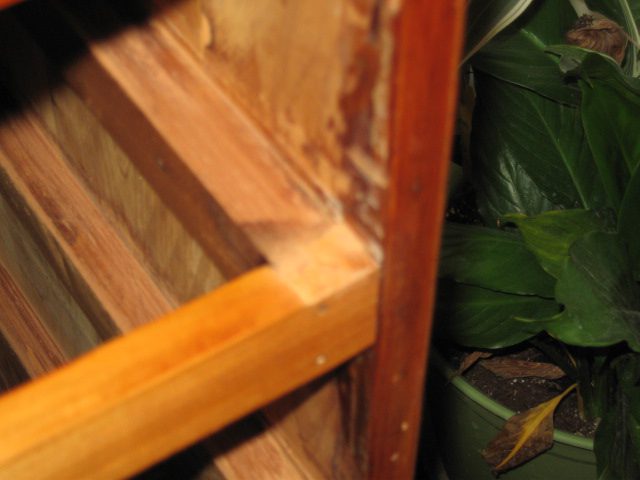
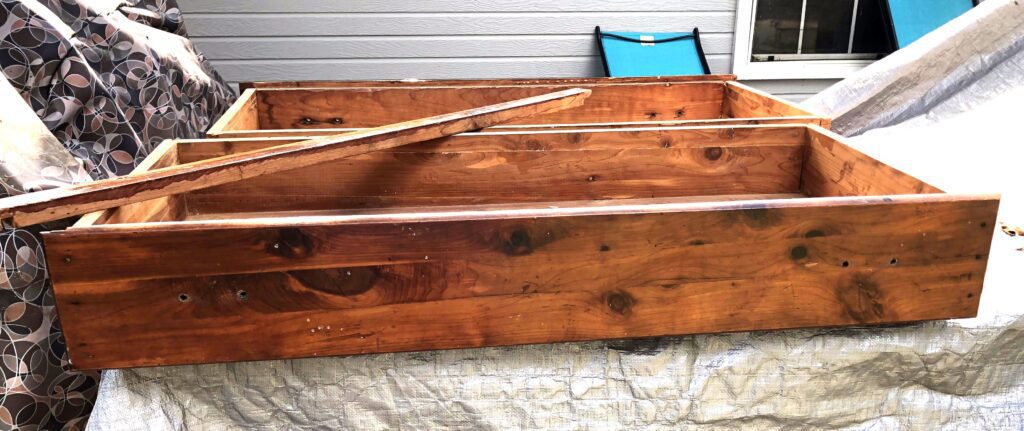
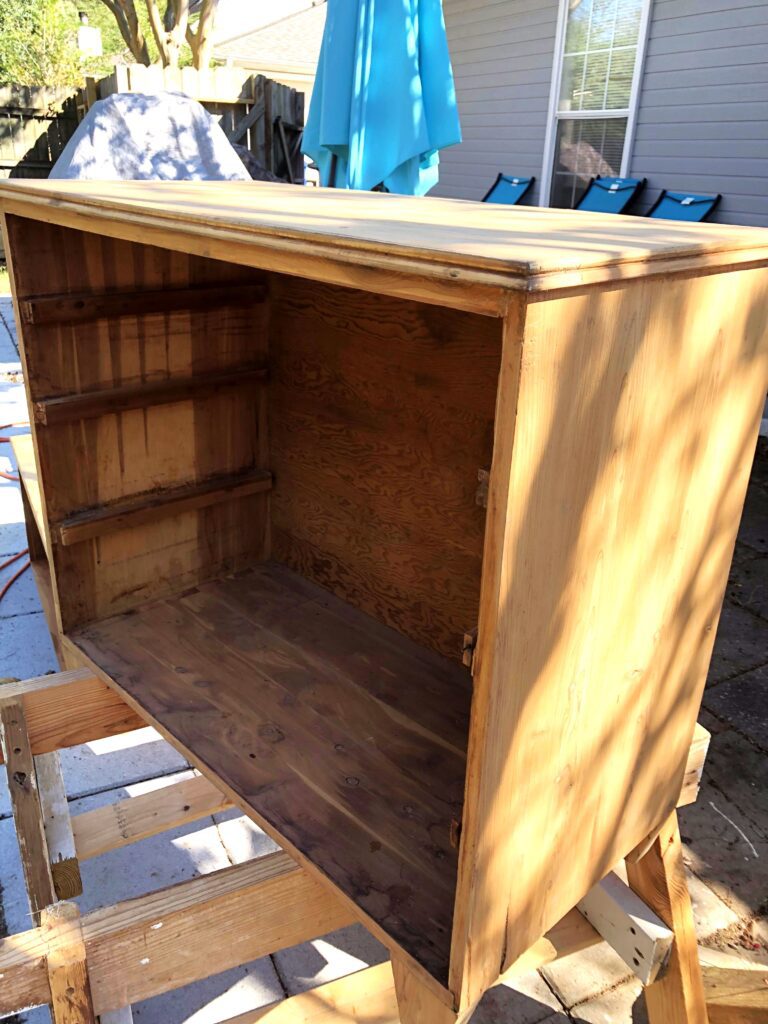
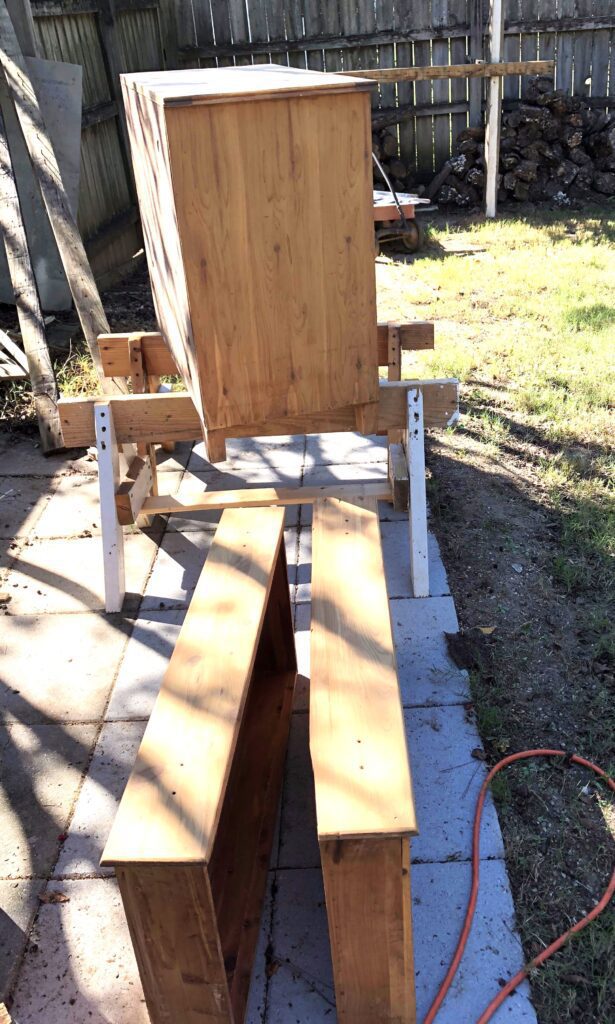
Once we replaced the drawer supports and replaced the drawer fronts, I stained them to match. Staining and finishing are the most fun parts of the project. After staining, sanding the piece always follows and then the application of polyurethane. I used two coats of poly on this project and I used high gloss poly. With furniture, two coats should be enough if it is not going to have heavy use such as a bar top etc.
I then updated the look with new hardware. Replacing hardware is the simplest way to provide an instant update to any piece of furniture.
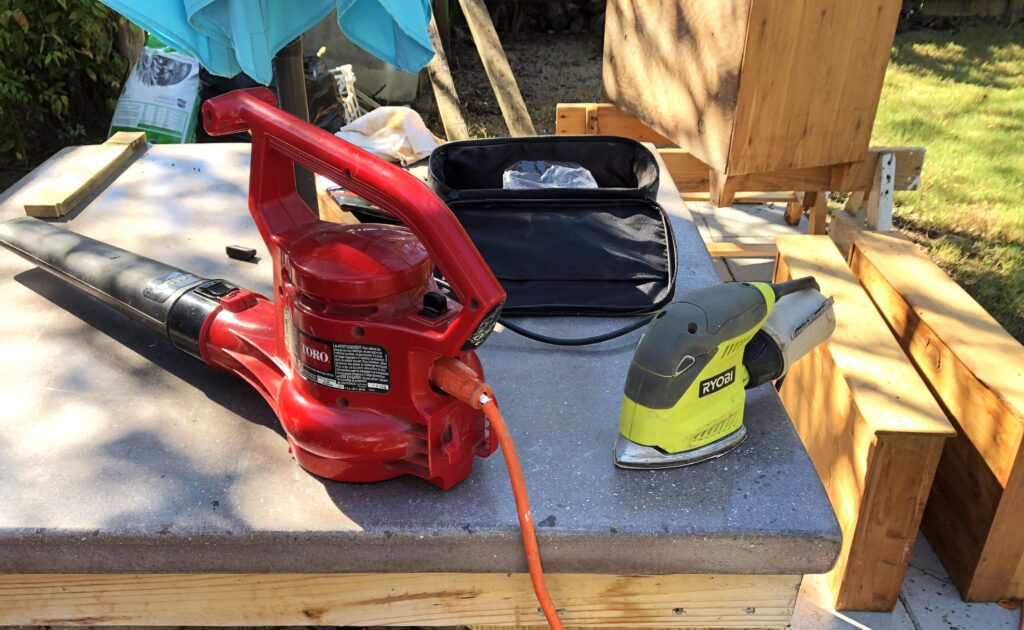
Staining and Finishing Steps:
- Repair any broken or missing parts. We replaced the missing and damaged supports and replaced the broken drawer fronts on the bottom two drawers.
- Sand or use stripper to remove the old varnish. You will want to use 80 grit paper for this
- Sand to remove any imperfections and make smooth. Use 120 grit paper then follow up with 220 grit paper
- Remove the dust from the piece.
- Apply stain and wipe off.
- Sand again with 120 grit and then 220 grit paper.
- Remove the dust from the piece.
- Use Tack cloth to remove any dust left behind
- Apply the first coat of polyurethane. I like to use foam brushes to prevent bristle marks.
- When first coat is dry, lightly sand the piece with 220 again and remove dust, and use tack cloth again.
- Apply the second coat of polyurethane. Allow to dry
- Install the new hardware.
- Enjoy your restored piece of furniture!
