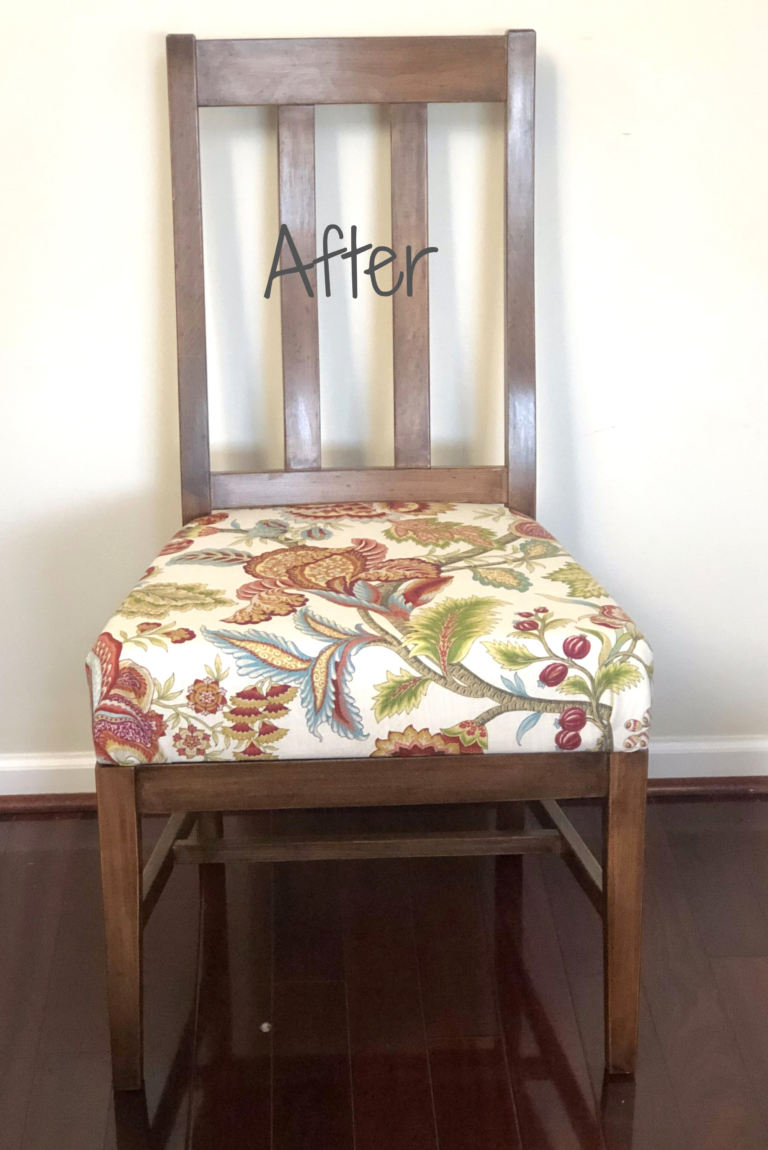
When to re-cover a dining chair
Taking time to re-cover a dining chair is something I do when the fabric gets worn or I just I just want a change. It was time for a change. I ordered new dining chair frames and was surprised to find they also had a type of chair bottom that I had never worked with. This required using webbing or springs. Springs scare me. I imagine getting the tension wrong and them flying through the air into my hand or something like that. Because of this irrational fear, I used elastic webbing. See how to re-cover a dining chair and add the elastic webbing.
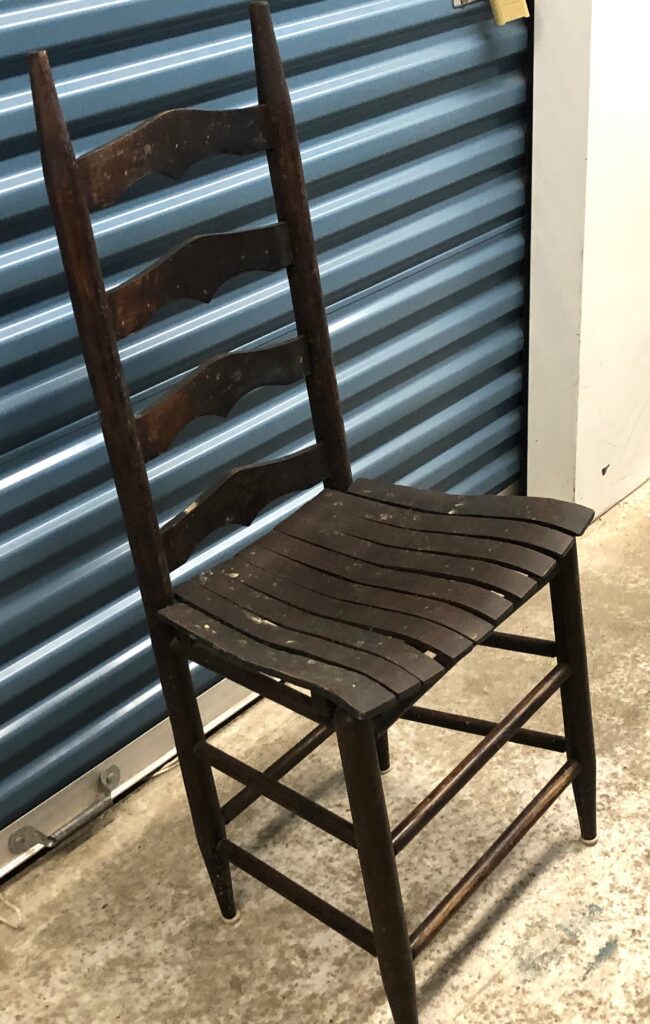
Our oak ladder back chairs were still sturdy but very uncomfortable. My husbands parents gave us our current dining chairs 30 years ago as a wedding present. Because they were uncomfortable, it was time for a change! I looked for replacement dining chairs but couldn’t find any I liked. I found these solid oak chairs on Facebook Marketplace that checked all my boxes. Pretty – √ , reasonable price- √, customizable –√. I liked them because they were unfinished so I could stain them or paint them to the finish I wanted. And they were not upholstered which allowed me to pick the fabric and foam I wanted. Yay! It was time to re-cover dining chairs.
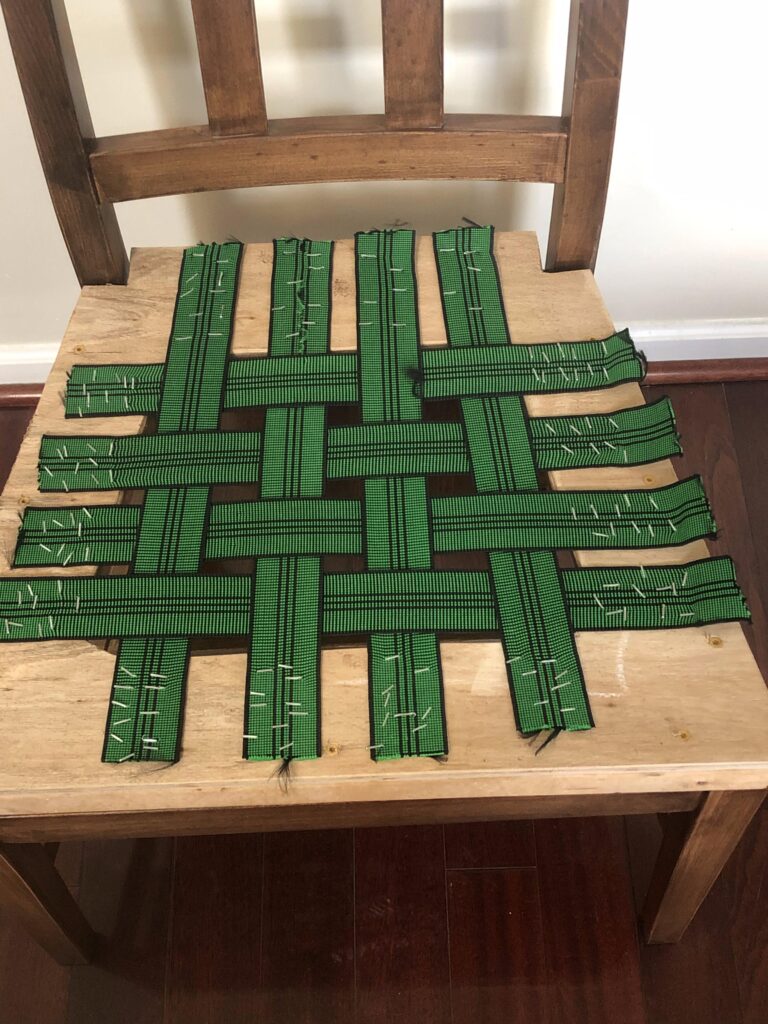
But the chairs had a hole in the seat board. Surprise! I was expected a solid piece of wood with a piece of foam on top of the wood. I realized the seats would need either springs or some type of webbing attached for support.
I have looked at chairs with this type of bottom in thrift stores before but did not get them because I was afraid it would be too complicated to work with. It is not. In fact I like this type of seat so well, that I plan to use this method for a bottom again. It is very comfortable.
Re-cover a dining chair Step 1:
Finishing the wood is the first step. I did it first to prevent any stain from getting on the fabric. Sanding is always necessary when applying any finish. I sanded with 220 grit sandpaper and then removed the dust from sanding. After this, I applied the stain I had chosen. I used a walnut stain by Minwax. When the stain dried, I applied 3 coats of polyurethane. I used the rub on variety and loved the way it turned out. This gave the chairs a hand rubbed appearance.
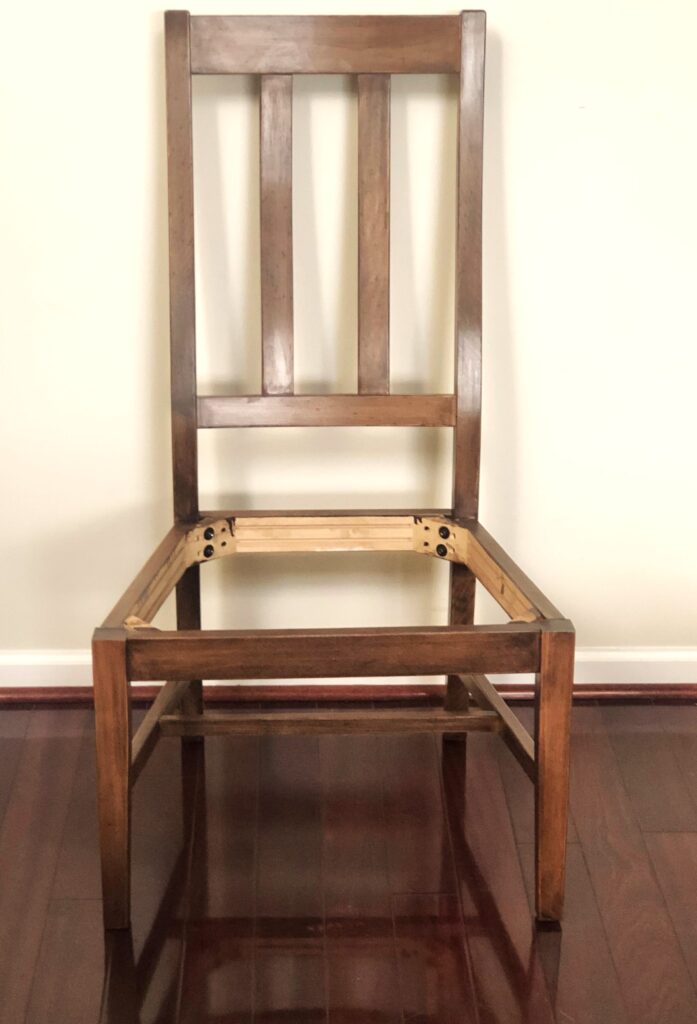
Re-cover a dining chair Step 2:
Forming the seat was the next step. After doing a lot of research to see how these seats are made, I found that webbing is used to support the foam in the opening. The webbing is stretched to provide the firmness of the seat. The tighter it is pulled, the more firm the seat will be. After stretching, the webbing is secured with staples. https://www.youtube.com/watch?v=uBiPun-30V8 This video is a wonderful demonstration of how to apply the webbing. We also wanted the seat to be higher so we added a ¾ inch piece of wood between the actual chair bottom and the frame. This gave us the height we were looking for. I secured the bottom to the frame with the screws that came with the chair.
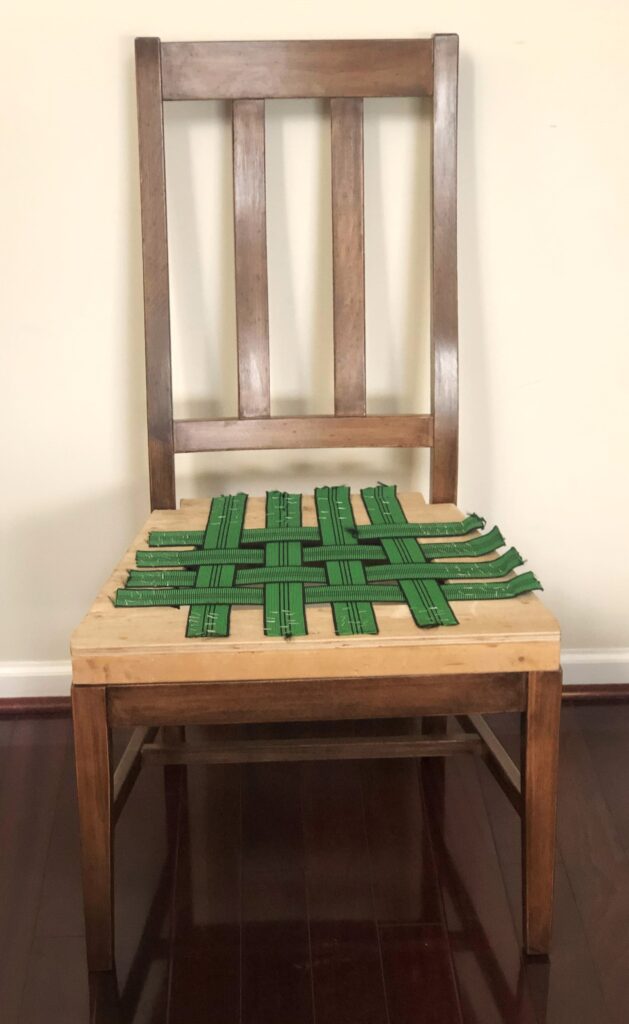
Re-cover a dining chair Step 3:
Applying the foam is the next step. I choose a firm foam that will support heavier loads without “bottoming out” or collapsing under the weight. I cut the foam to fit the shape of the seat at the edges. After the foam is cut to fit, batting is applied to give extra softness to the chair. The batting also prevents wrinkles forming during use. The foam is not glued or stapled in place. It is not necessary to do this because this fabric holds it in place.
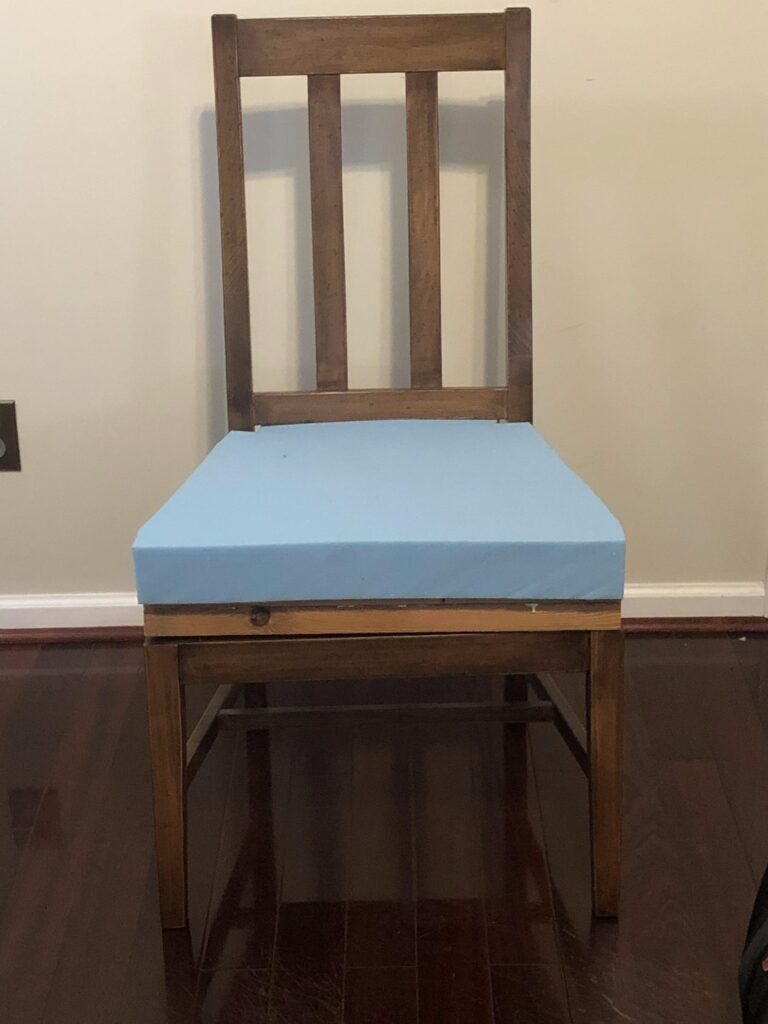
Re-cover a dining chair Step 4:
Placing the fabric is the next step. Choosing the fabric design with the idea of what will show on the seat. I chose a large floral pattern that repeated with 3 different flowers. If you choose to use a large floral design, you will need to add extra fabric to make sure the pattern can be centered on each seat. The fabric was centered on the seat. Next I pulled it snugly to remove all the wrinkles. I folded the fabric at the corners for a neat look. Start with one edge and secure it with 2-3 staples per side working to remove any wrinkles and secure the corners evenly. Add more staples until all the edges are secure.
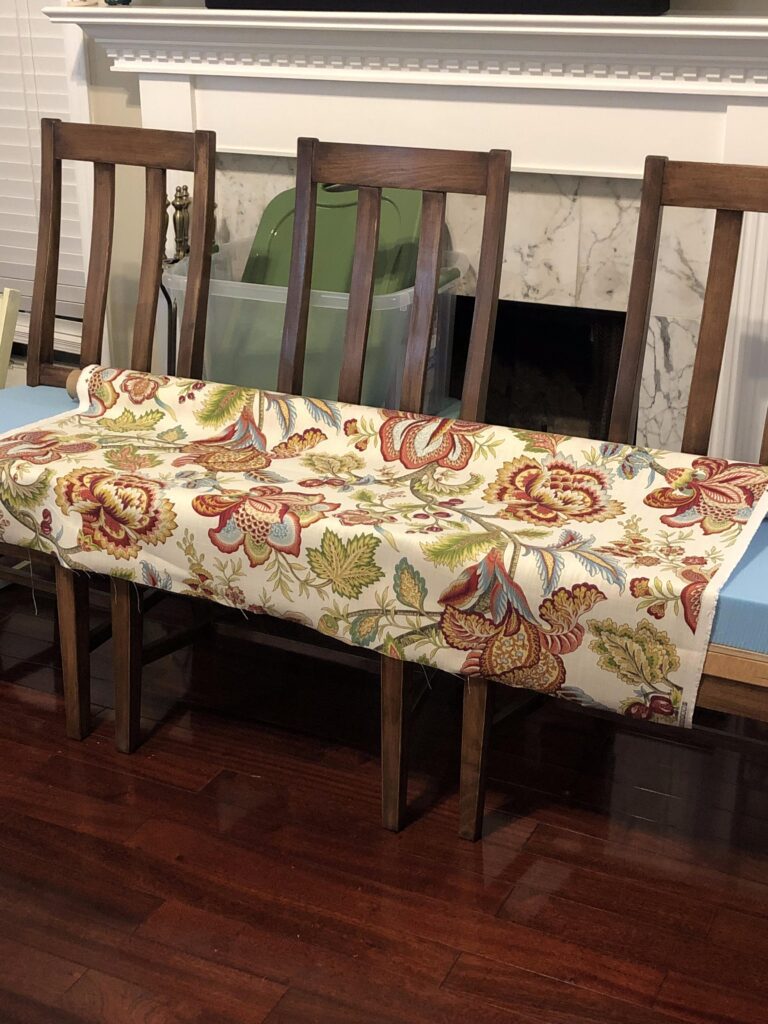
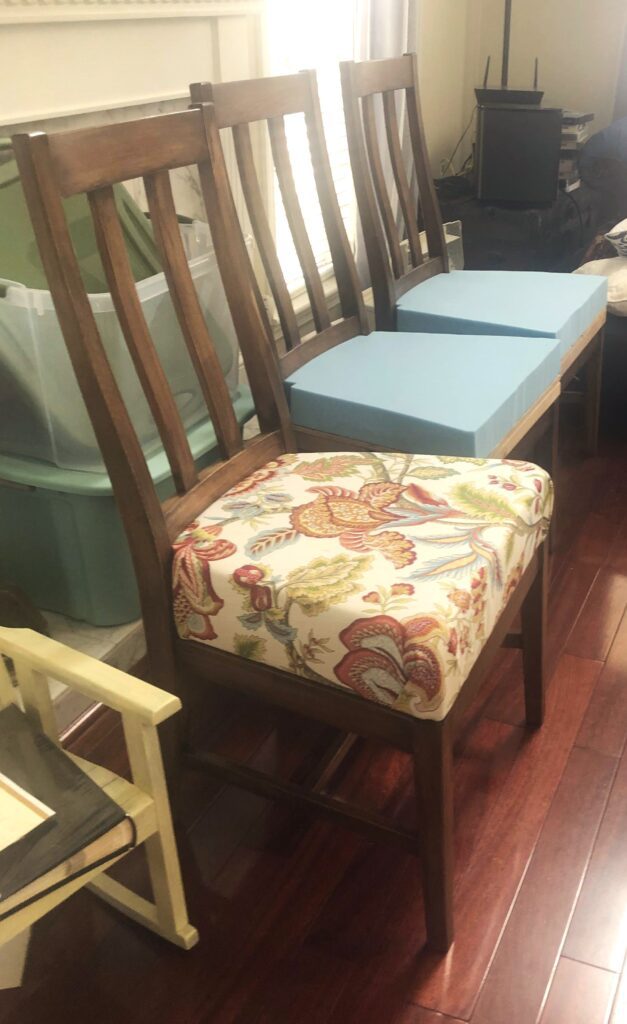
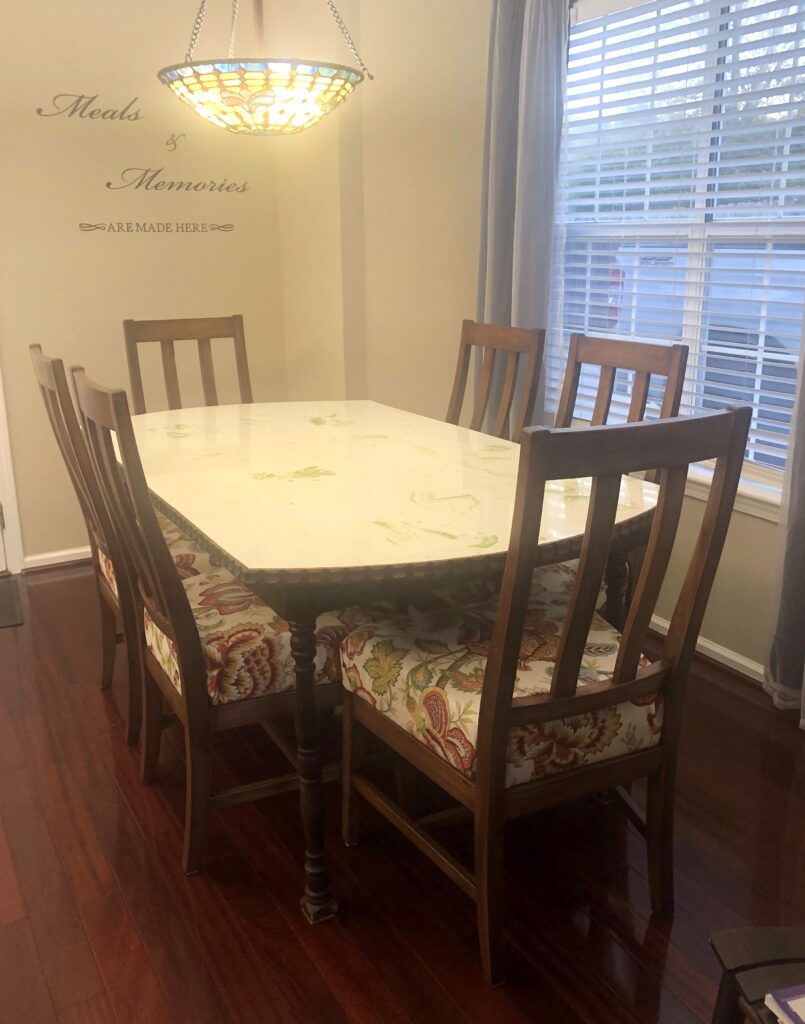
It is finished!!! I love the way they look. And they are so much more comfortable than the old chairs. Working with this type of chair bottom wasn’t difficult. In fact it was a 3 on a scale of 1-5 with 1 being the easiest and five being the hardest.
Fun Fact
The beaches on Sanibel Island are called shell beaches and this would be why…
