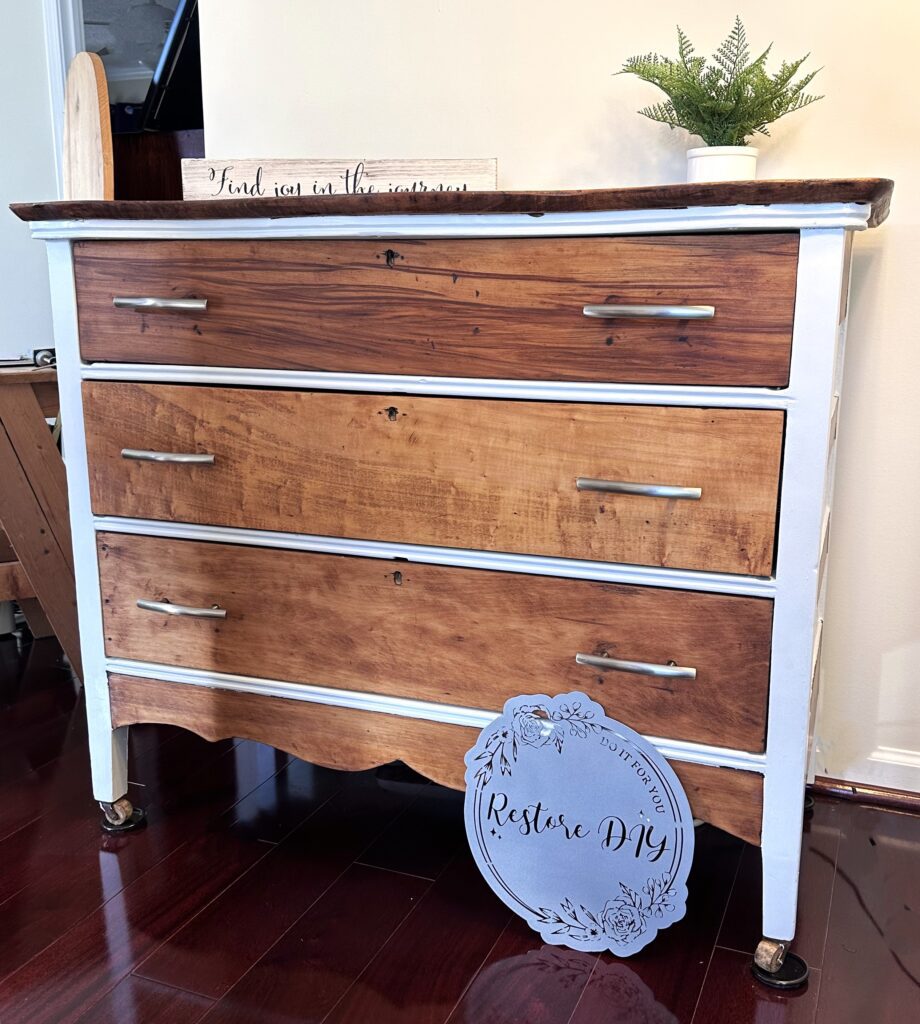

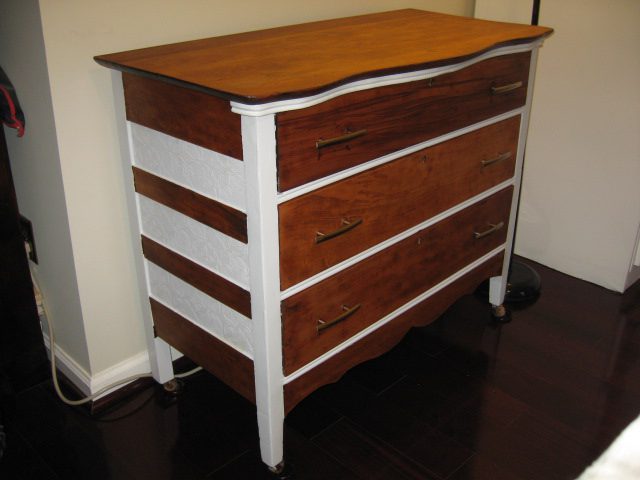
Paint and Stain combined on one piece of furniture looks wonderful. I love the look of beautiful wood but there are only so many pieces you can have in your house before it starts to look like either a rustic cabin or an antique store.
This chest was my great grandmothers and really needed to be updated. The drawers would almost fall out if they were pulled open too far and the finish was scratched. The overall look of the chest was a dark piece of wood.
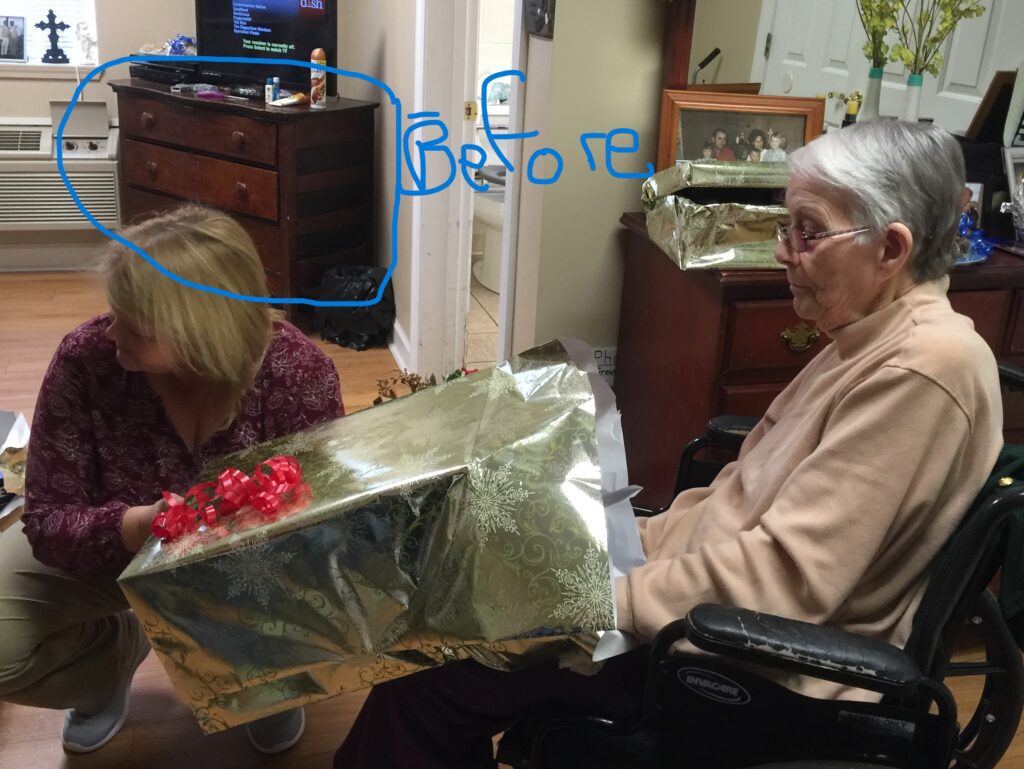

Steps to follow:
- Strip
- Sand
- Make necessary repairs
- Finish sand
- Apply paintable wallpaper to chosen areas
- Paint
- Stain
- Finished


Strip
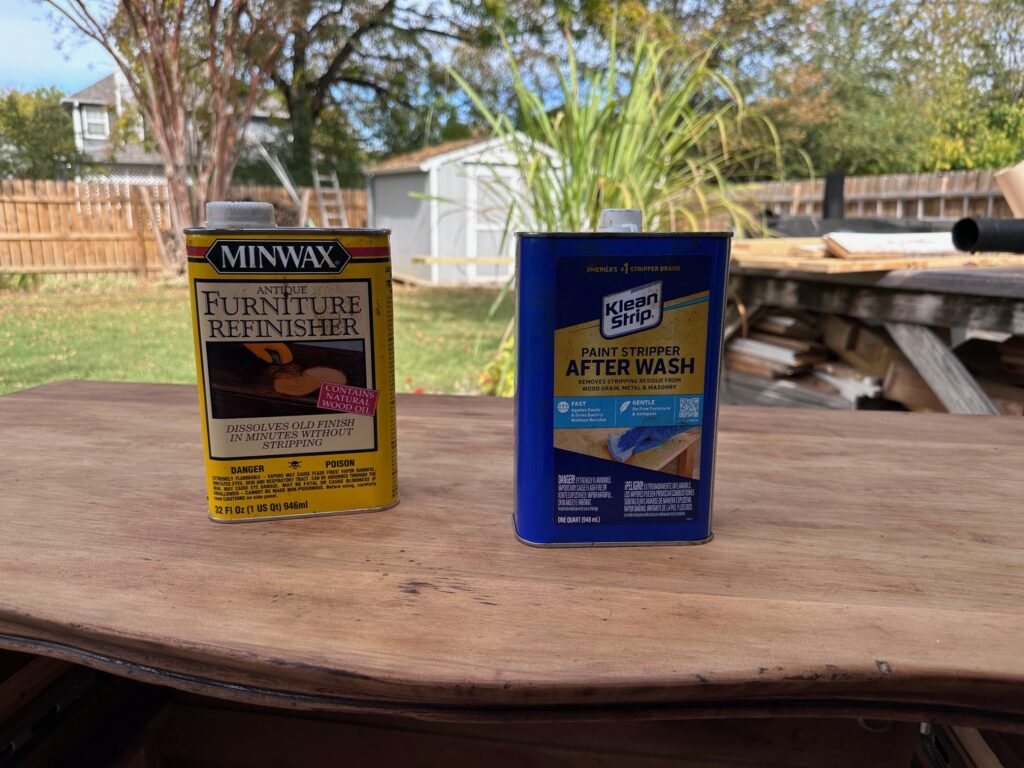
To have a paint and stain piece of furniture the current finish had to be removed. In this case, I started with a paint and varnish stripper by Klean Strip. It worked for most of the piece but the sides of the chest had a thick almost paint like coating. The Klean Strip was working very slowly.
I am not a patient person…and it was taking too long to strip this chest so I found Minwax Furniture Refinisher. It claimed to dissolve old finishes in minutes without stripping. IT DID!!!! This product is wonderful if you have an antique that you are refinishing. It literally dissolved the old finish. After stripping the finish, I used Klean Strip Paint Stripper After Wash to completely clean the surface. It completely dried before applying any other finish.

Sand
After the finish was removed, I sanded the chest with 120 grit sandpaper. Sanding cannot be skipped. This piece of furniture had narrow groves that also had to be sanded. I found the best method was to fold the sandpaper in half and slide it inside the grove. Finally after sanding with 120 grit sandpaper it was ready for repairs.
Make Necessary Repairs
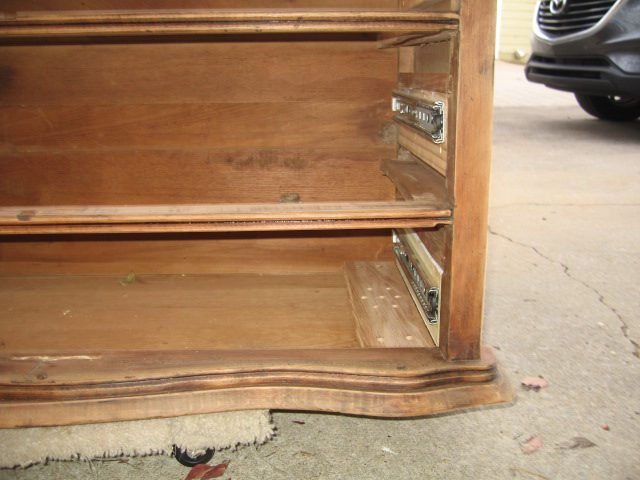
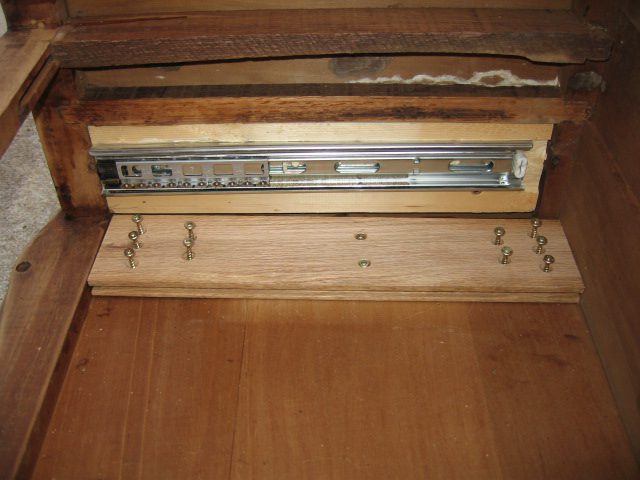
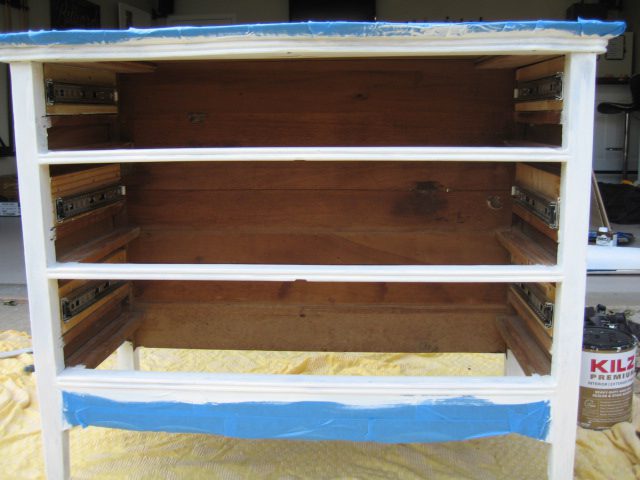
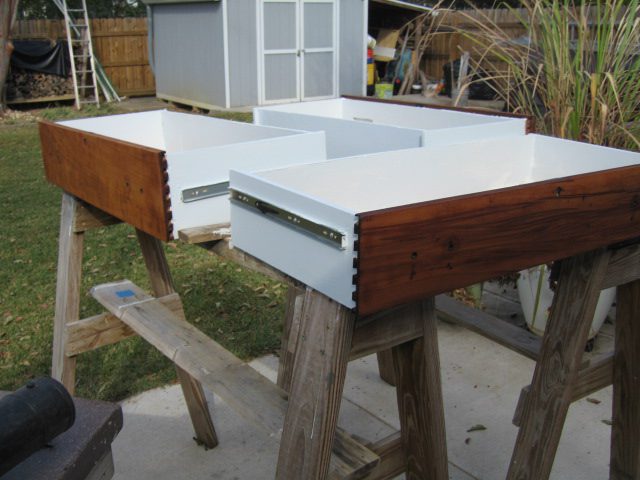
Paint and stain would make this piece beautiful but I want it to be more functional than it was. The drawers were the one thing that made it difficult to use so we decided to add drawer slides.
We had never added drawer slides before so we choose to get that task completed first. We learned our lesson. After we added the slides and fitted it perfectly, then we tightened some joints which made the slides no longer work perfectly. Please learn from our mistake and make all necessary repairs before adding the drawer slides.
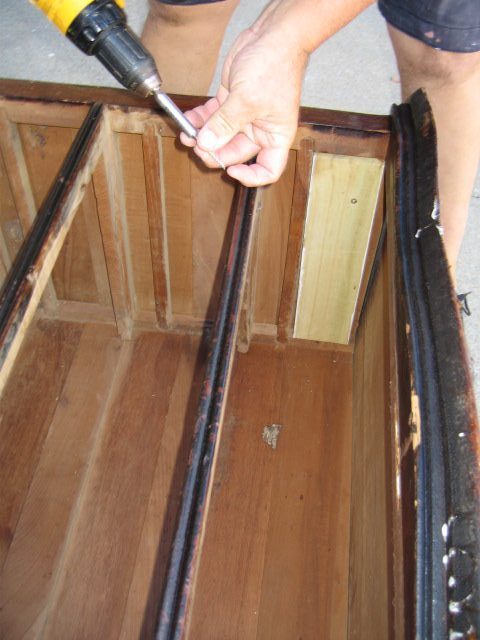



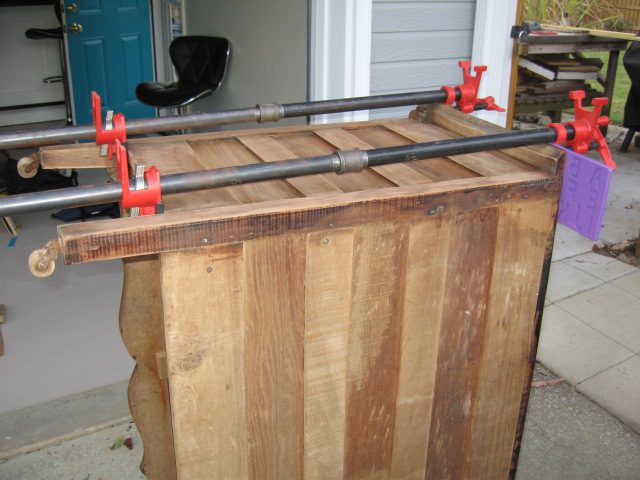
The top of the chest had started to bow upward along the edges where the top meet the sides. To correct we first pulled the bow out by using pipe clamps to apply pressure to hold it straight. A hardwood straight board was placed across the bow (inside of the chest) and secured with screws. Doing this prevents the top from bowing again by holding it straight.
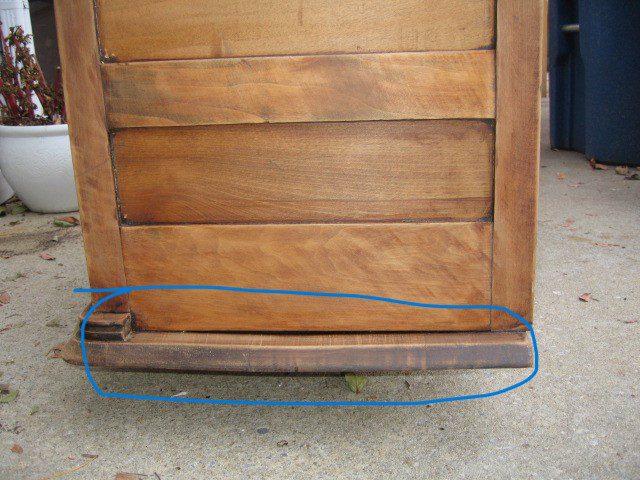
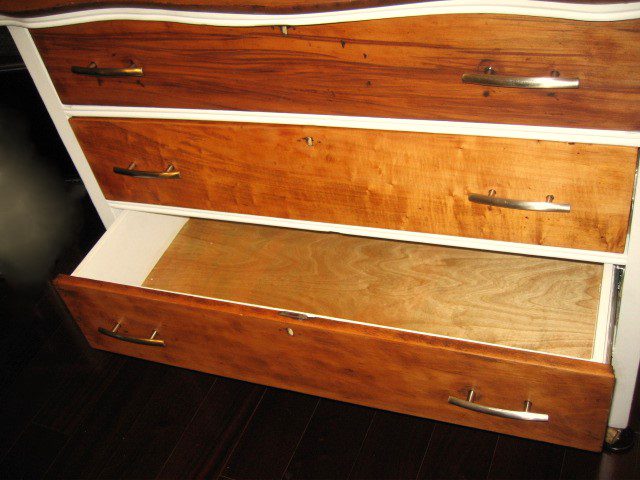
The drawers needed new bottoms because they were wrapped and stained. The drawer stops had scrapped across the bottom of the drawer so often over the years there was deep grooves across the bottoms. Because of this we replaced the drawer bottoms and the back of drawer using the old pieces as a pattern.



Finish Sand
Then the final finish sanding was performed with 240 grit sandpaper after repairs were made. Since paint and stain were applied next, it was very important to remove all the dust after sanding. Once the sanding was complete, I removed the dust by blowing off the chest with a leaf blower and then using a tack cloth on the entire chest
Apply the Wallpaper
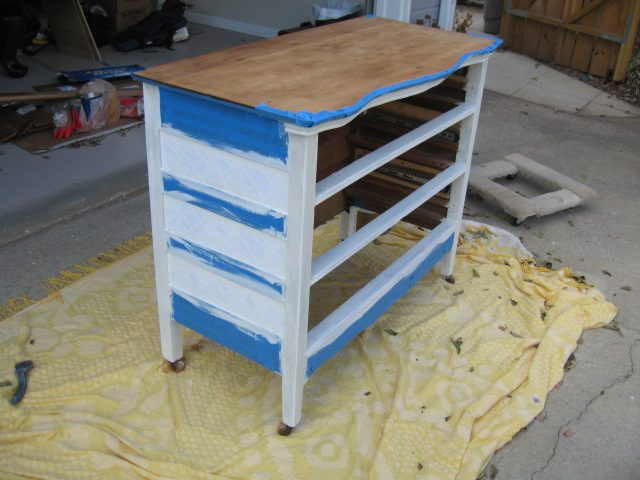
I wanted to have a texture on the sides, so I chose to put paint-able wallpaper on the sides alternating with stain. The wall paper was cut to fit and applied with paste. After drying overnight, the chest was ready for paint.

Paint
Since some of the wood was going to be unpainted, it was necessary to apply painters tape to prevent overlap of paint onto the bare wood areas. Take the time to tape carefully and get those lines straight.
Once the chest was taped, I applied two coats of Kilz 3 primer. The primer was allowed to dry overnight. Fully drying provides for the best base.
Next I applied the paint and allowed it to dry and repeated the process. This time the two coats of paint were allowed to dry for a couple of days. If you have the extra time to allow for complete drying even a week is better to prevent scratching the paint during the final steps. I did remove the painters tape about an hour after I finished painting it.

Stain
The wood had such a good color that I didn’t want to change its color so I chose to use Danish Oil on it. I had never used Danish Oil before and it was great. It penetrates the wood to give it a deep protection without looking like polyurethane or varnish. It was perfect for this project. I followed the directions for the Danish Oil and it only took about an hour to complete it.

Finish
Drawer pulls were applied as the final step. Once that was completed it was ready to be a beautiful and functional part of our house. Paint and stain turned the drab chest into a beautiful piece of furniture.


I hope tutorial was helpful. If you have any questions please leave a comment. Of course you can save this to Pinterest for reference in the future.


