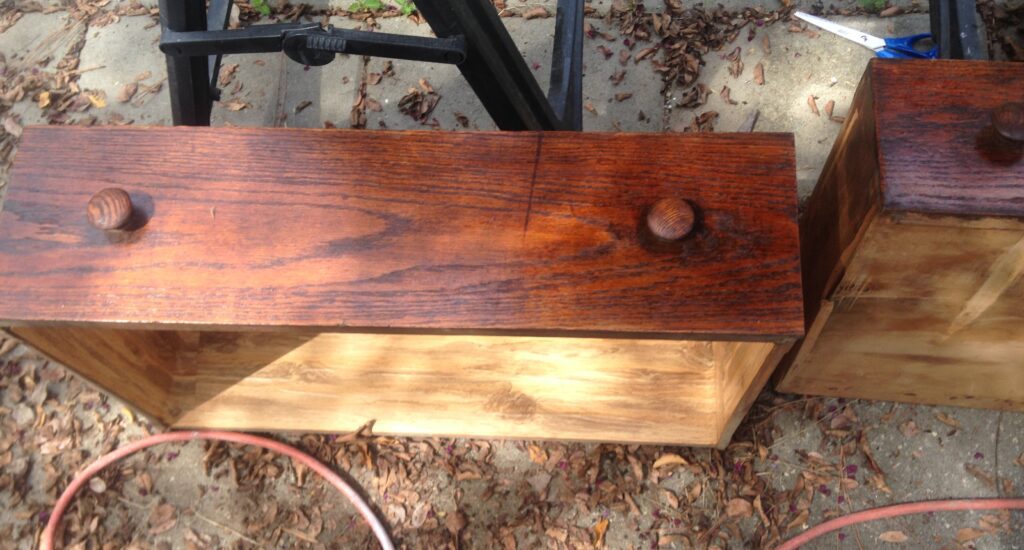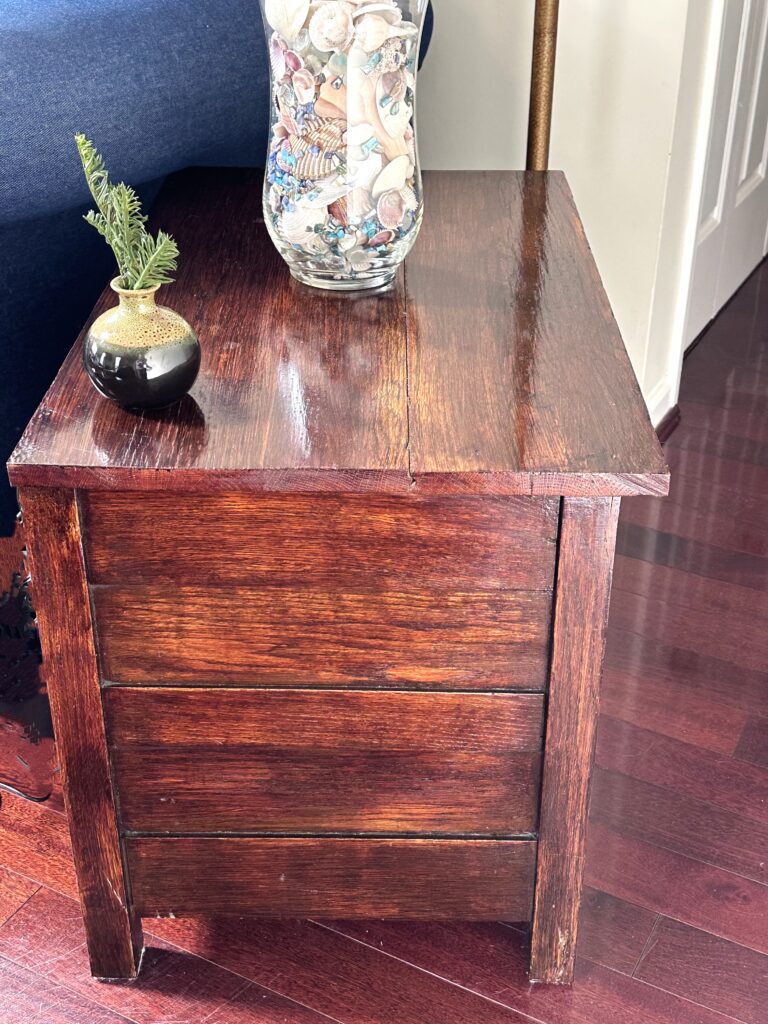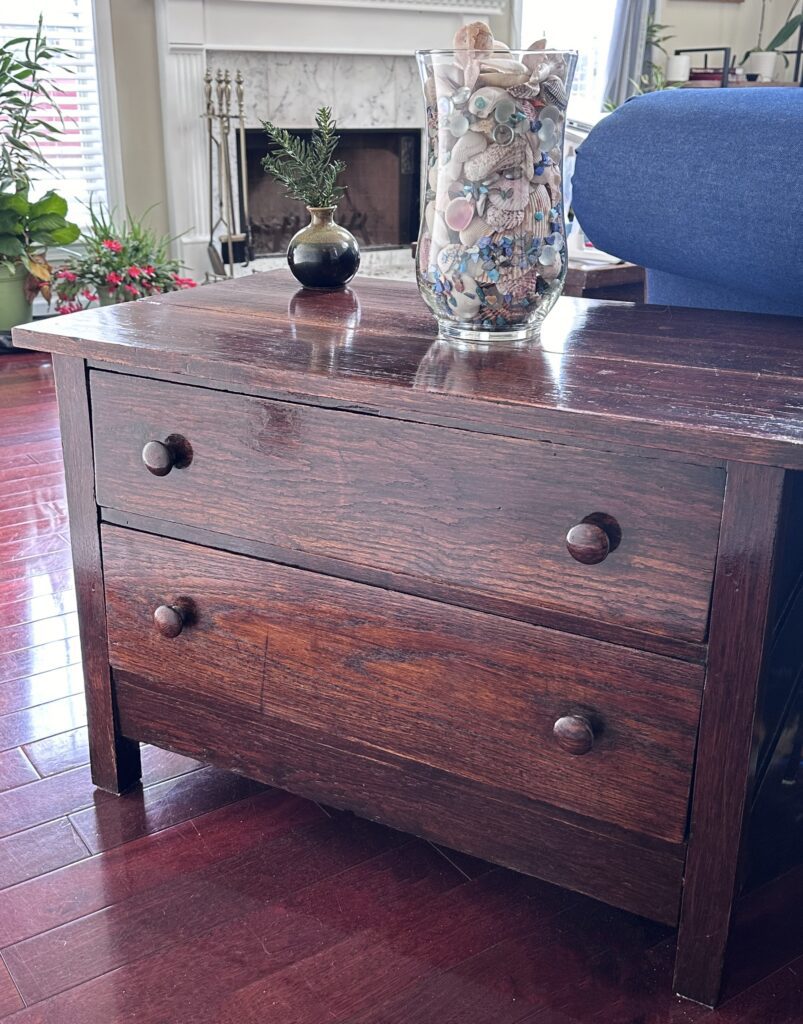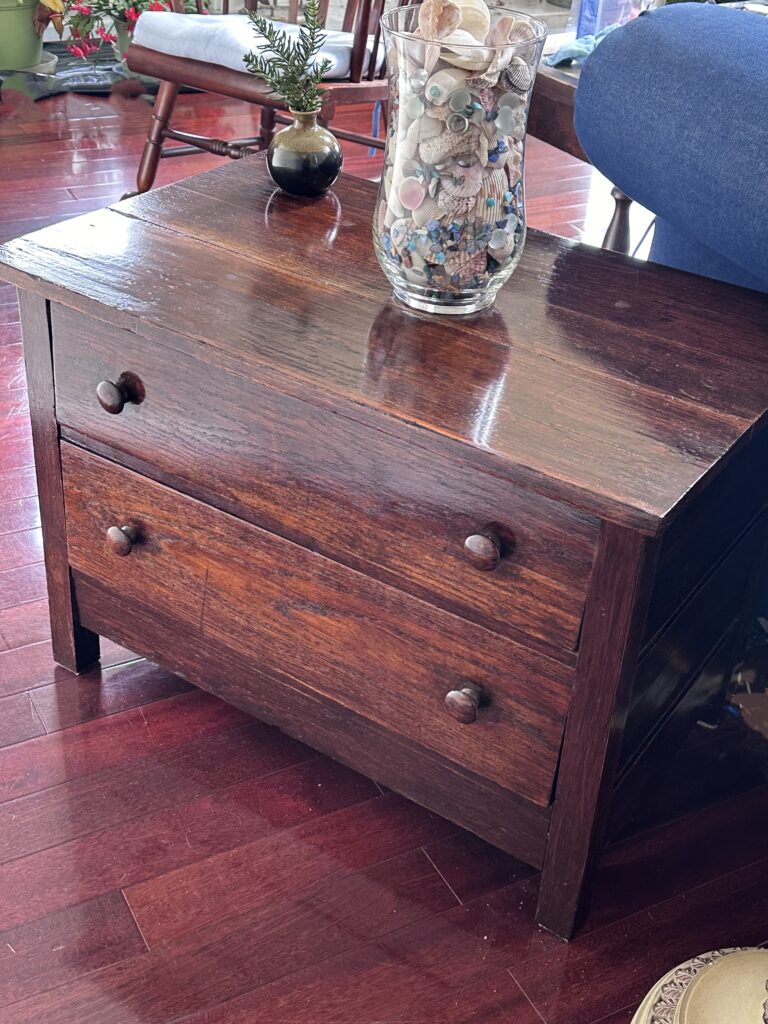
When I started working with stain and varnish, I was a teenager. My dad encouraged me and let me refinish a small chest by myself. It looked great! They kept it and 30 years later I ended up with it. Storage had not been kind to the chest, so I found myself refinishing a varnished chest after 30 years.
The varnish was starting to peel in places due to moisture and poor airflow. Refinishing a varnished chest is not a lot different than refinishing any other finish.
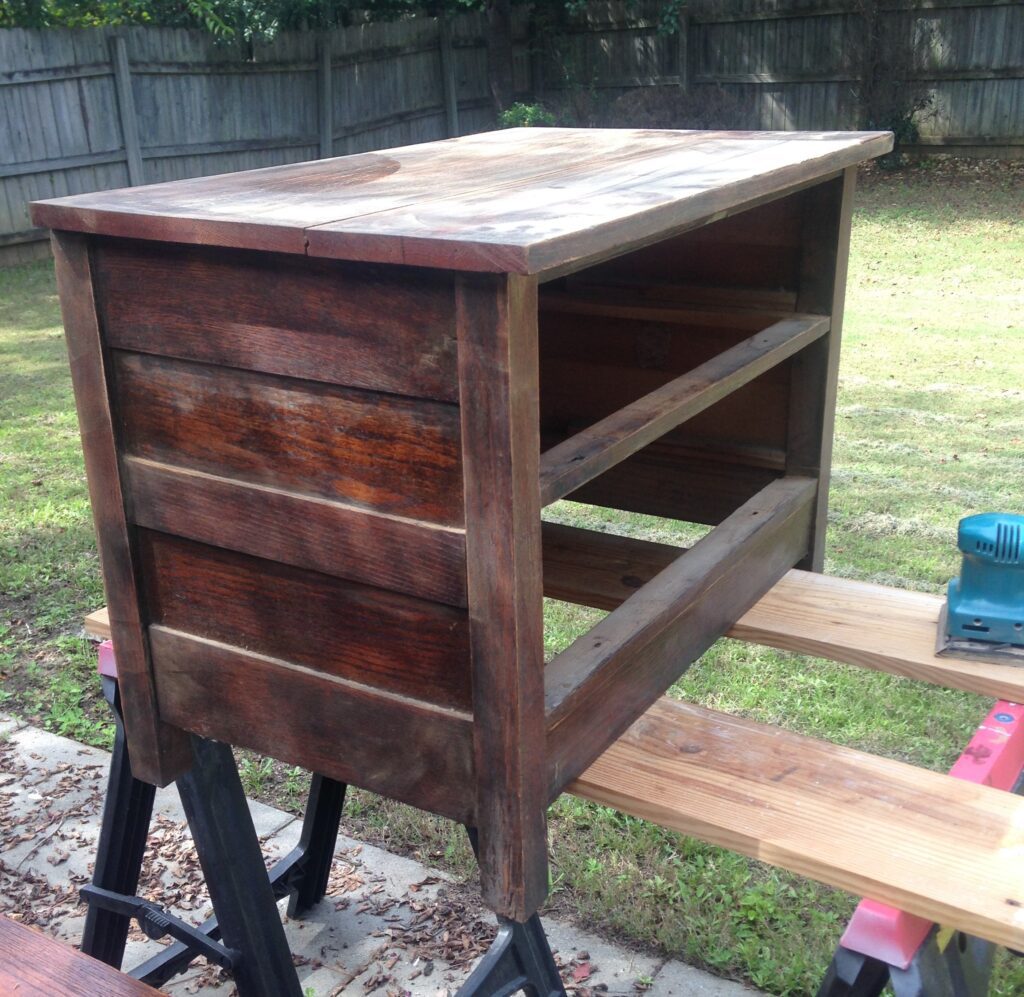
Steps:
- Sand to remove finish
- Sand to remove any imperfections
- Prepare surface for finish
- Apply Finish
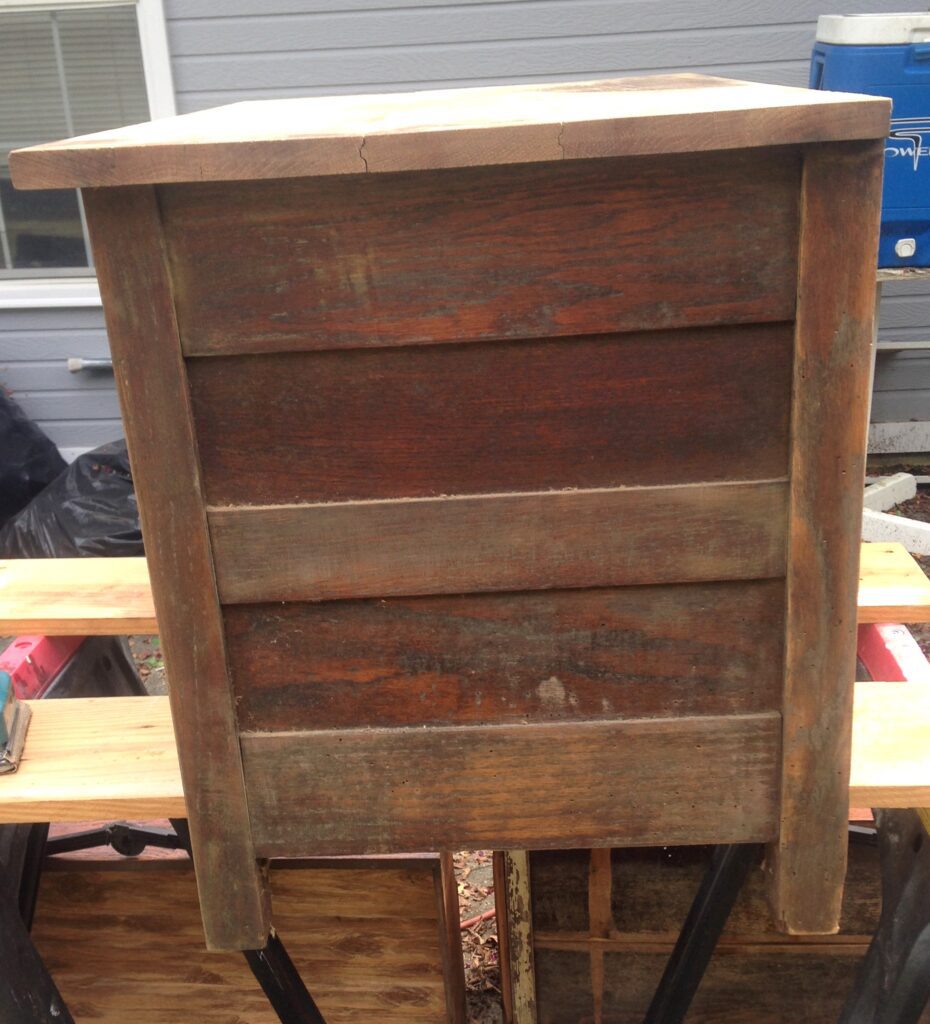
Sand to remove finish
The first thing I did was to sand using 80 or 100 grit sand paper. I didn’t try to use paint and varnish remover because I wasn’t going to change the color. I only wanted to change the top coat. After sanding all the surfaces until I felt the varnish was removed, I moved on to step 2.
Sand to remove any imperfections
I used 220 sandpaper to remove any imperfections caused by the initial sanding and to get the surface I wanted. I have found that 220 grit sandpaper gives a great smooth surface. It also helps to remove any areas of varnish that may have been left by the first sanding.
Prepare surface for finish
After the sanding was complete, dust was removed. I used a leaf blower to remove the bulk of the dust. Next I used tack cloth until the cloth no longer has dust after wiping. When it comes away clear, it is ready for the top coat.
Apply Finish
I used polyurethane for the top coat. I like to use polyurethane. Be patient and prepare to apply at least 2-3 coats. I usually like to paint and refinish furniture outside because I like fresh air and being outdoors, but I don’t recommend applying polyurethane outside. Wind blows and it blows dust onto my newly applied top coat.
After the first coat, I let it dry following the directions on the product. When it dried, there were “bumps” in some areas of the topcoat. To remove these, I lightly sanded the area with 220 grit sandpaper and removed the dust. This happens unless you are using a dust free painting room with no ventilation which is not recommended.
