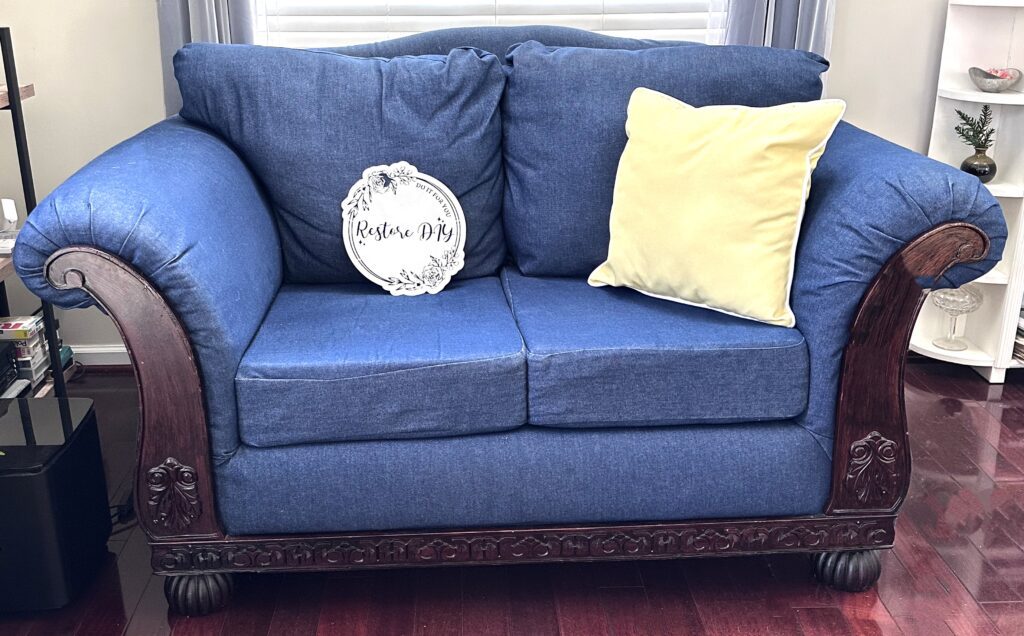
Recovering a second hand loveseat and couch was a great way for me to get a custom living room set. When hubs and I first married, we needed matching furniture in the living room. I couldn’t find what I wanted in the price range I was willing to pay. I searched marketplace and found a loveseat and couch that had the basic shape that I wanted for sale at a good price.
These are the steps I took to get the loveseat and couch I wanted. This post only shows the loveseat but both couch and loveseat were redone.
Evaluate the furniture
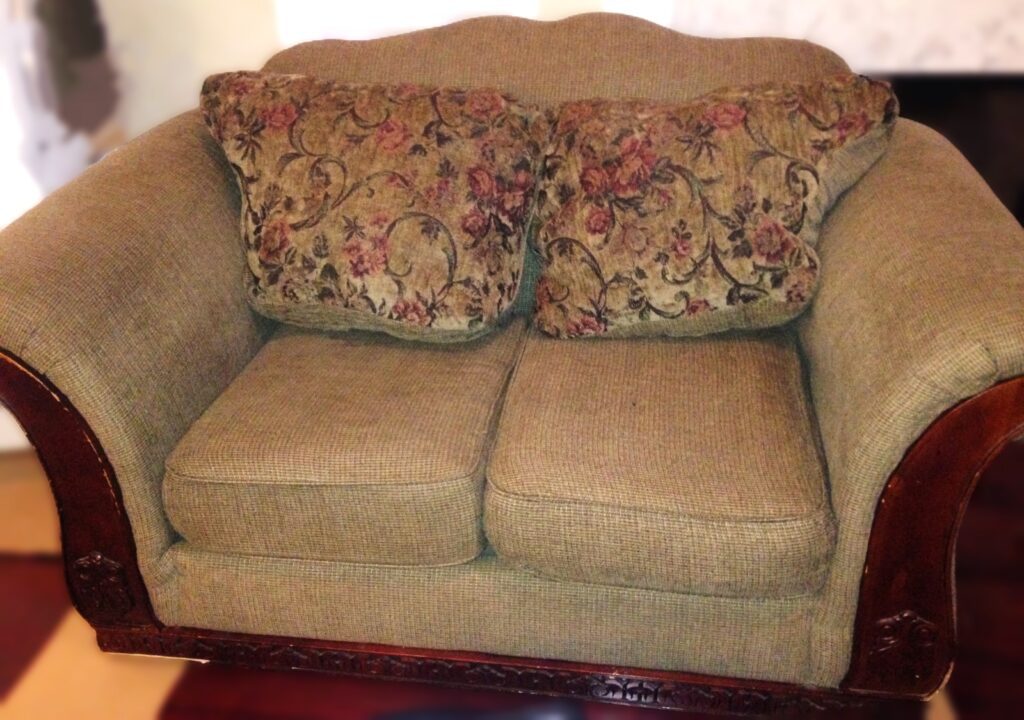
My first step in recovering a second hand loveseat or any piece of furniture, was to evaluate the piece to determine what I needed to do. Since this piece of furniture has fabric and cushions, I wanted to get rid of anything that could hold germs or even worse… Dead Skin Cells!!!! YIKES!!!
I first checked the straps to make sure they were all attached and tight. I was lucky because this piece did not have springs that needed to be replaced or retied. Make sure the wood pieces are intact and not broken or loose. If they had been any broken or loose springs, I would have needed to repair them before putting any padding or fabric on the loveseat.
Remove the old
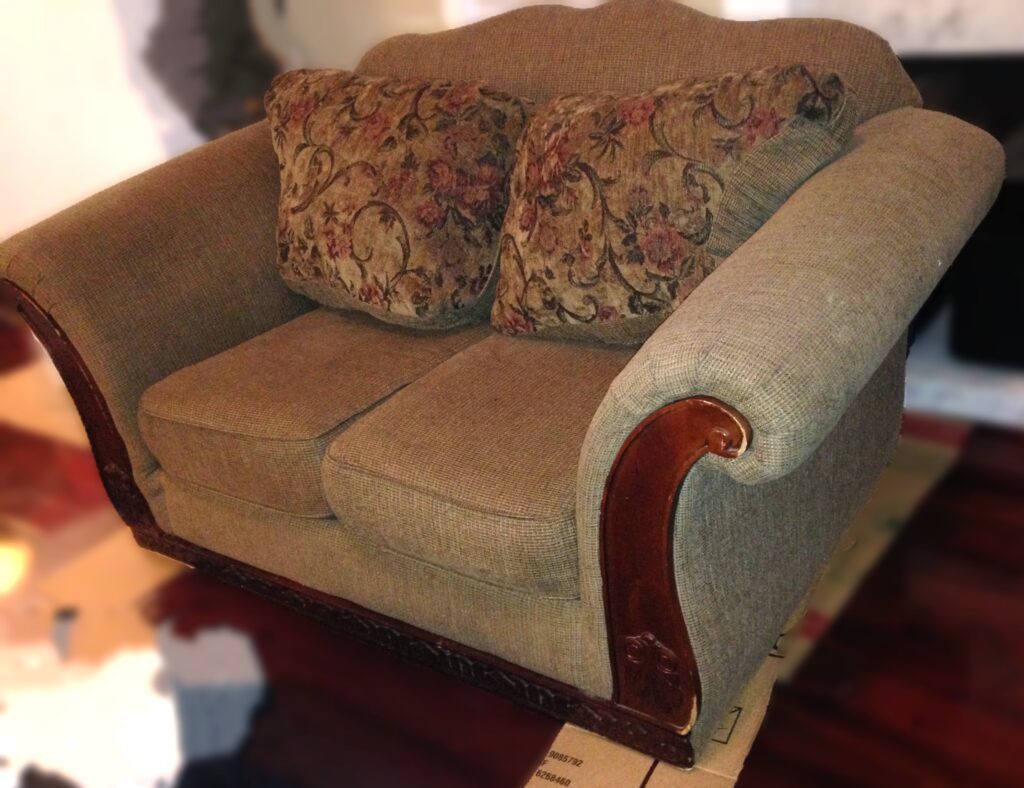
I removed the decorative wood on the arms and the bottom of the front of the couch. It was in good shape and only had a few small areas that had the stain/color broken off.
When removing the fabric you want to keep it in one piece. In other words, don’t cut it to get it off. Pull the staples off of the wood and remove it that way. If it is sewn together, then get a seam ripper and pull the seam apart.
When you are recovering a second hand loveseat, I also suggest that you take pictures or write notes showing the steps when you are taking it apart.
Repair or Replace
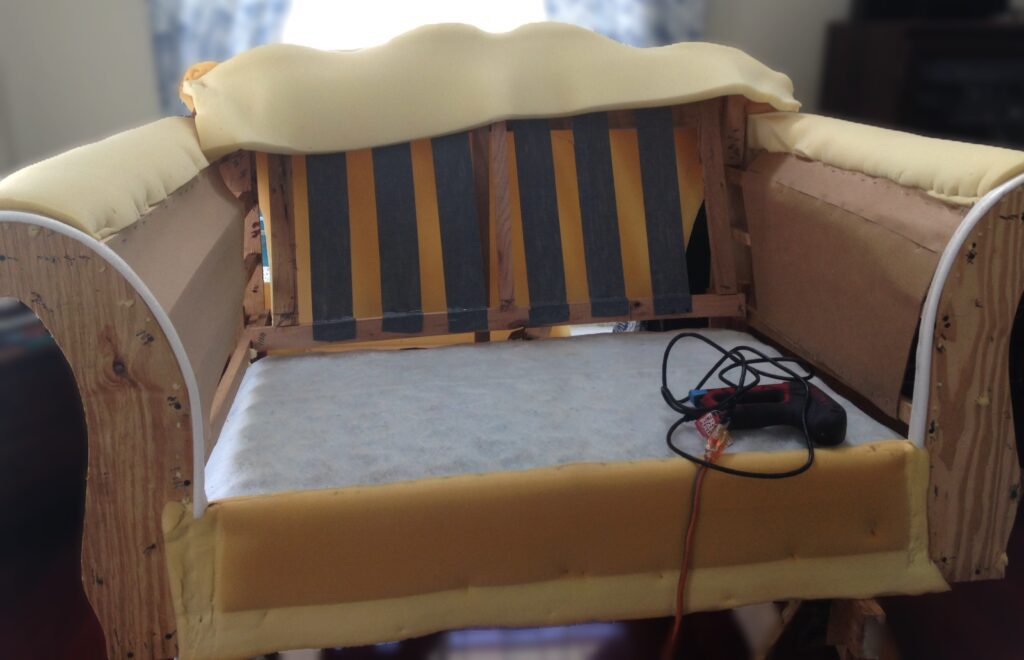
Once I took this to the “bones” which is what I call the wood frame and cardboard, I found the support straps had a little play in them and needed to be tightened. This was an easy fix with a staple gun. A staple gun is my primary tool when recovering a second hand loveseat or piece of furniture. Once the straps and wood structure was repaired I put the base padding on.
I decided to make the decorative wooden parts of the arms and the front of the loveseat darker, so I cleaned it well and applied a polyshades product of dark walnut.
Padding
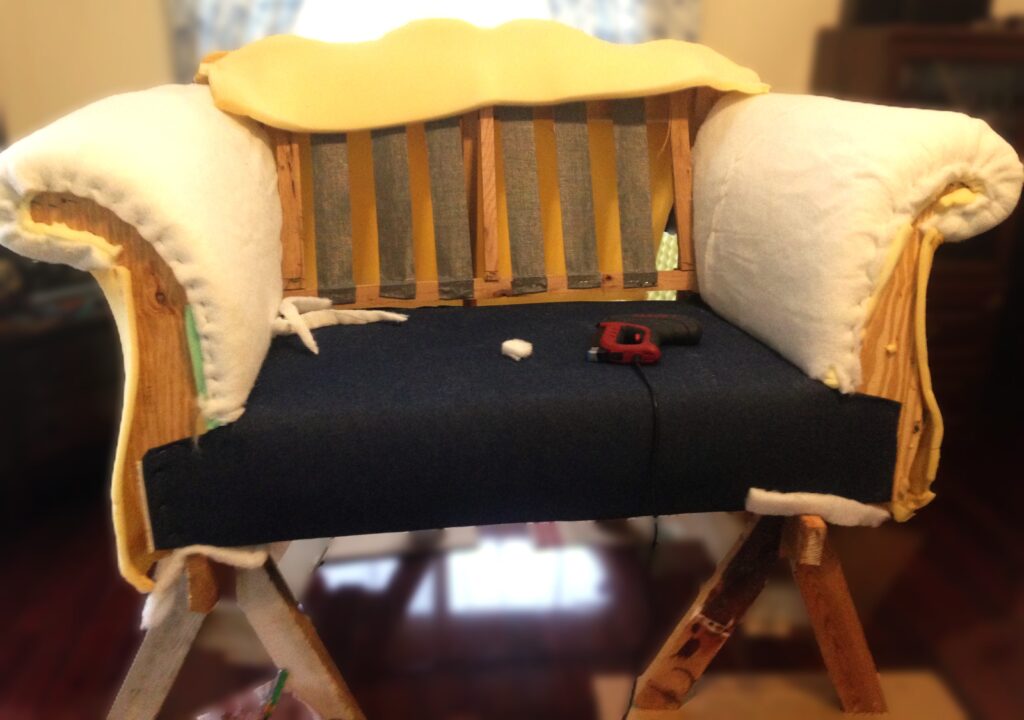
The loveseat arms, the back top and the front of the loveseat were padded with 1 inch foam padding. Then the foam was stapled to the wooden frame to prevent movement and hold it in place. I left the cardboard in place on the arms since it was in good shape. It was only on the inside so I was able to inspect the arms from the outside for any problems.
The back had two pieces of foam padding. One on the top to give the curves extra padding and the other one went on the back of the couch (side usually facing the wall) where it was stapled, to cross the flat part on the front. It was pulled to the back at the bottom and stapled.
Batting
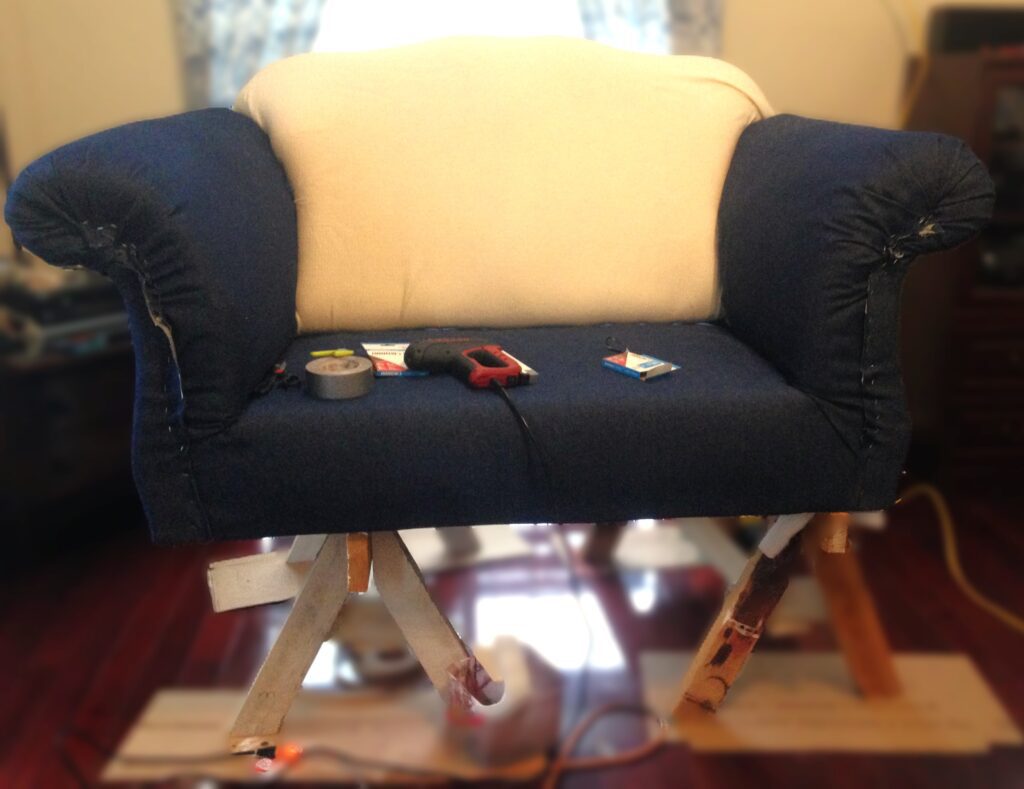
The foam was then covered in cotton batting. I would not suggest leaving this step out, it give the foam a smoother surface and the fabric looks smoother with it. It will also be stapled to the wooden frame to keep it from moving.
I bought the batting at Joann’s. If you have an upholstery supply store near you and it sells to the public, you will find better quality products there. The springs of the loveseat was covered with a thicker wool batting followed by cotton batting.
Fabric
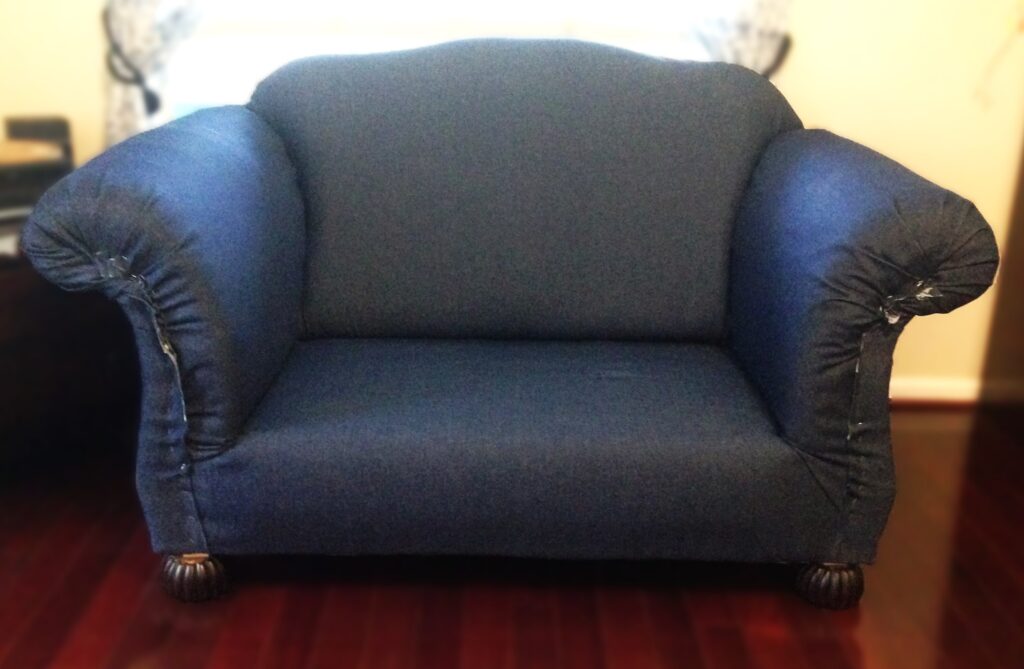
I wanted a denim couch. When I started looking for denim locally, I couldn’t find the right color or texture for the job. Then I found an online fabric store and order about 5 different denim swatches. I picked one and measured the piece to determine how much fabric I would need. The best part of online shopping is that it comes to your door!!! It was heavy. I felt sorry for the delivery person.
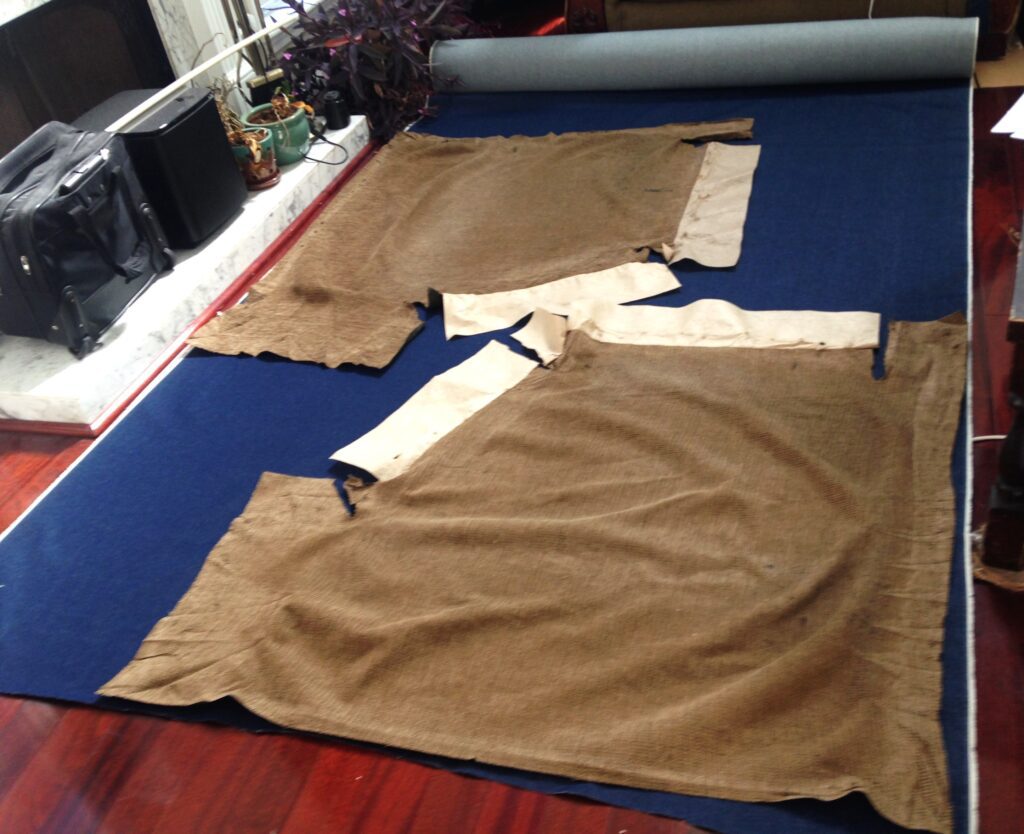
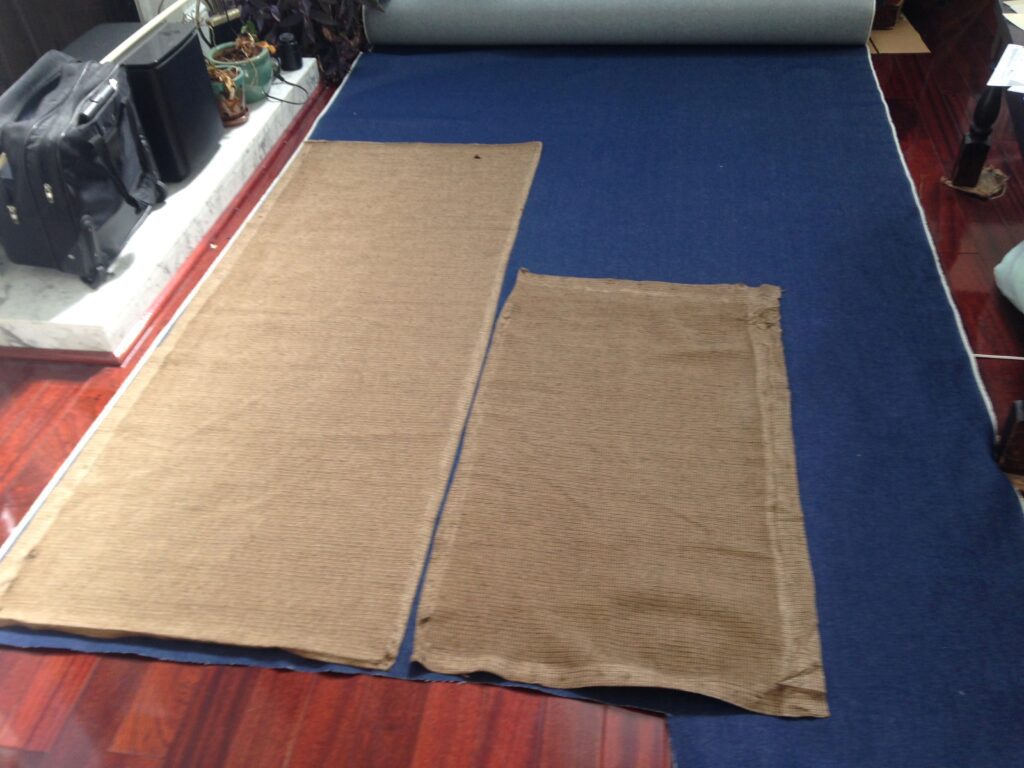
It was time to apply the fabric. The floor made a perfect place to roll out the denim. I used the original fabric pieces as a pattern. When I had the pieces cut out, I started applying the denim. I started with the bottom as it is the foundation the other pieces build on.
The fabric was attached on one side and pulled it tight to staple it to the opposite side. If that is confusing, it is easy to see how its done when you remove the fabric.
Next the arms fabric was attached. This piece was easy because only the cushions needed to be sewn. When attaching the fabric, I smoothed out any wrinkles and attached the fabric to the wood with my trusty staple gun.
Now for the biggest piece yet, the back. It was a challenge pulling it tight and getting all the wrinkles out, but I was slow and deliberate and it wasn’t that bad.
Cushions
After I had applied the fabric to the loveseat, I tackled the cushions. For the cushions, I measured the cushion and replaced the foam. When I ordered the foam I got foam that was firm but comfortable. The foam density is also important to consider to prevent it from breaking down too quickly . Most foam suppliers will cut the foam to fit your measurements or you can cut it yourself. Of course, I cut it myself….
Cotton batting was applied to the foam to make it smoother. I secured it to the foam with spray glue. The best suggestion I can give is to spray it outside because over-spray will definitely make things sticky.
The back cushions were sewn with a zipper and filled with poly fill. The poly fill will compact so more may need to be added later. Update: I decided the poly fill was too compact and uncomfortable, so I have since used foam shreds. The shape is better but I am not sure if I will use it again. There should also be a warning to go with the foam shreds; they are horribly messy putting in the pillow.
Inserting the zipper is the hardest portion of sewing required with this and for the back cushions, you can hand sew them together so they don’t open. However, the seat cushions do need the zipper in them. I also cover this in this post.
Finishing Touches
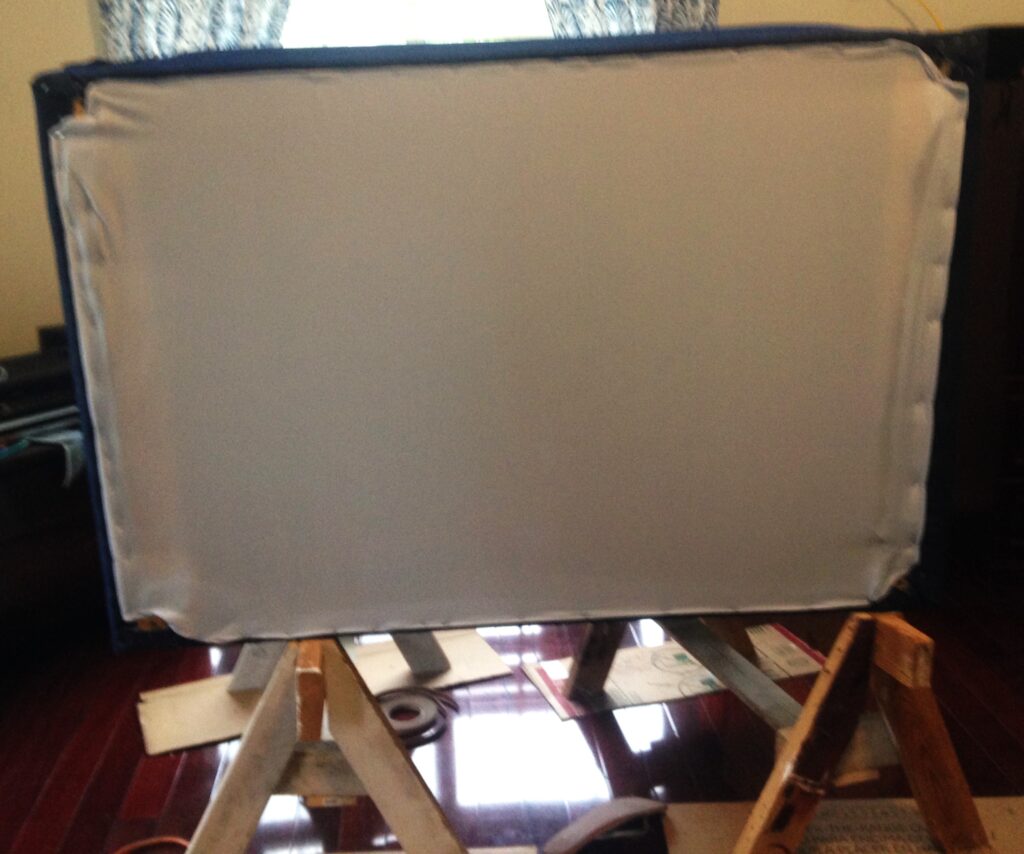
After I finished the cushions, the loveseat was almost complete. Underneath the couch did not have a covering and for some reason that bothered me so I pulled out a piece of fabric that was perfect for this and covered the bottom/underneath of the loveseat and secured it with staples.
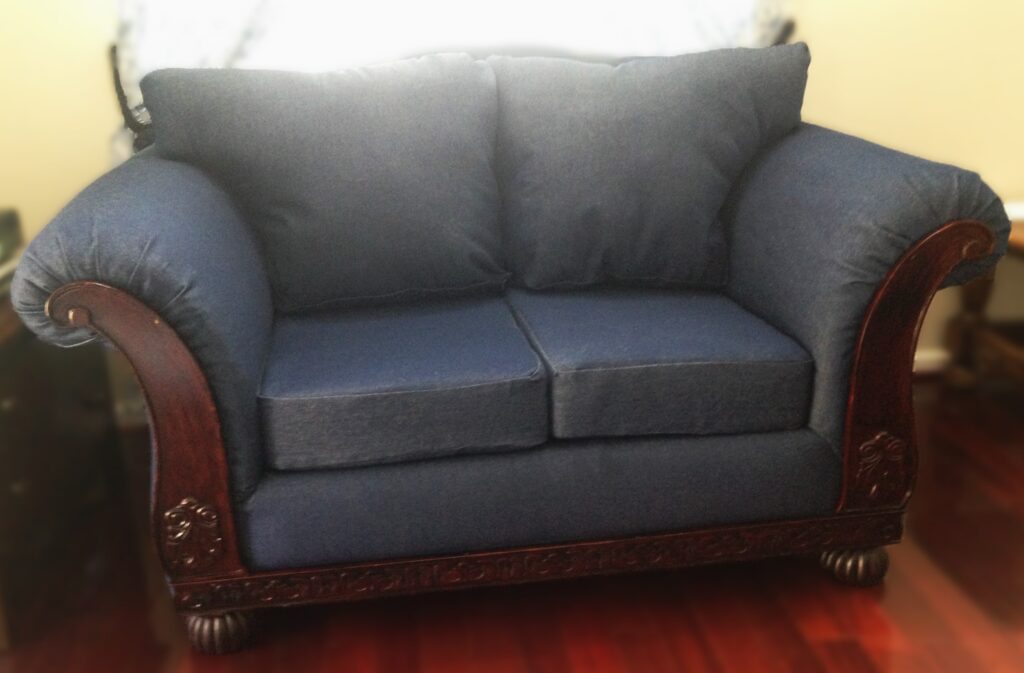
The only thing that was left was placing the decorative wood pieces on the arms and the bottom of the loveseat. The denim was thicker than the previous fabric and I may have used more batting that was there originally. Because of this I had to use longer nails to put the decorative wood pieces in place. I also didn’t like height of the loveseat but did like the feet and didn’t want to change them out. To raise it I placed a ¾ inch piece of wood between the foot and the frame. The foot screw was long enough that it worked. If it had not been long enough I would have needed to replace the feet.
Finished Product
Recovering a second hand loveseat and couch gave me exactly what I had hoped for. I love the denim set and it has worn very well. If you can’t find what you want in the price range you had hoped, this is a great way to get what you want.

Fun Fact
Cake Decorating for the grands can be very fun. And yes, I need to get better with “writing” with frosting…
