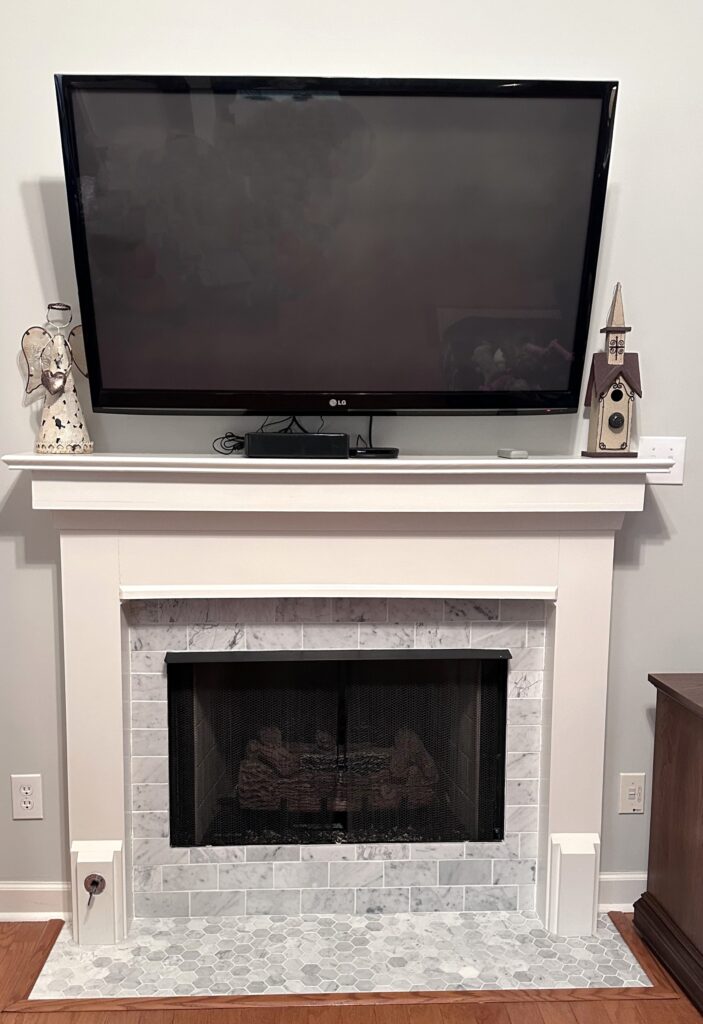
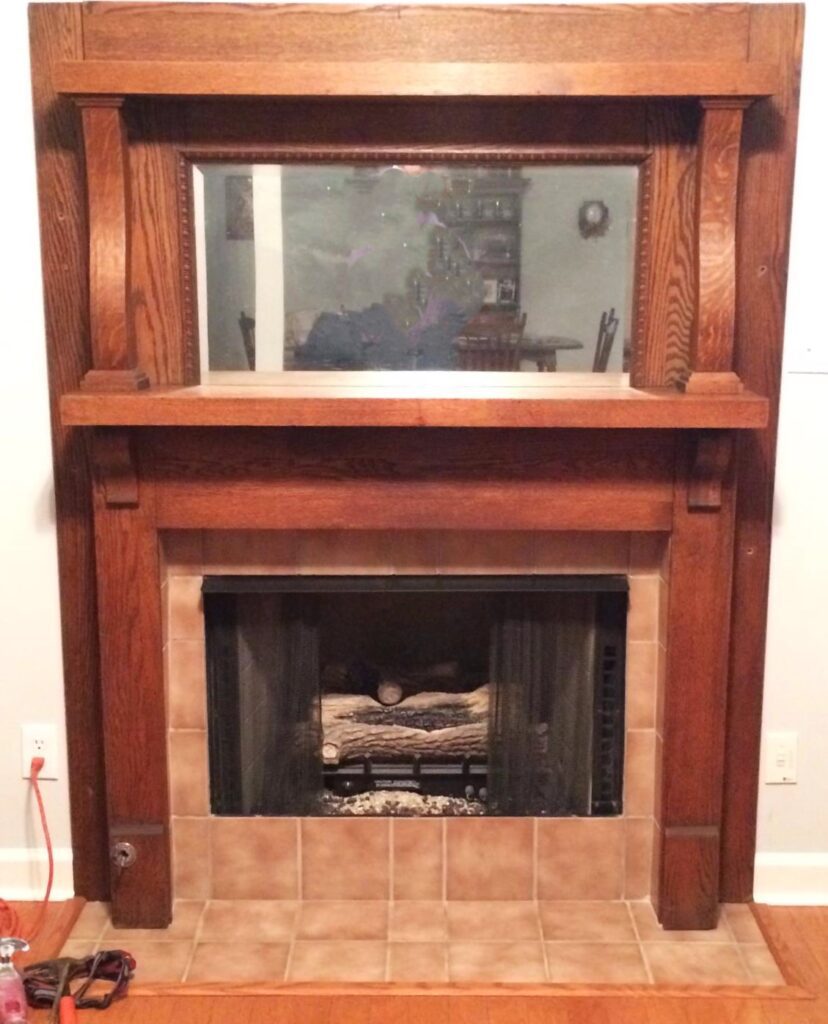
Tile can be an inexpensive and durable way to update a room. This DIY Fireplace Tile Instruction will walk you through the steps to update your fireplace. I have used tile in a shower, kitchen backsplash, floor and fireplace and it really makes the room look better. My mother in law had a beautiful antique fireplace in her home. But it didn’t fit with the décor of the home that was built in the early 2000’s.
We decided to remove it and install a more modern fireplace front. In this DIY Fireplace Tile Instruction I will tell you how to do the tile application. I will tell you how to build the mantle build in a different post.
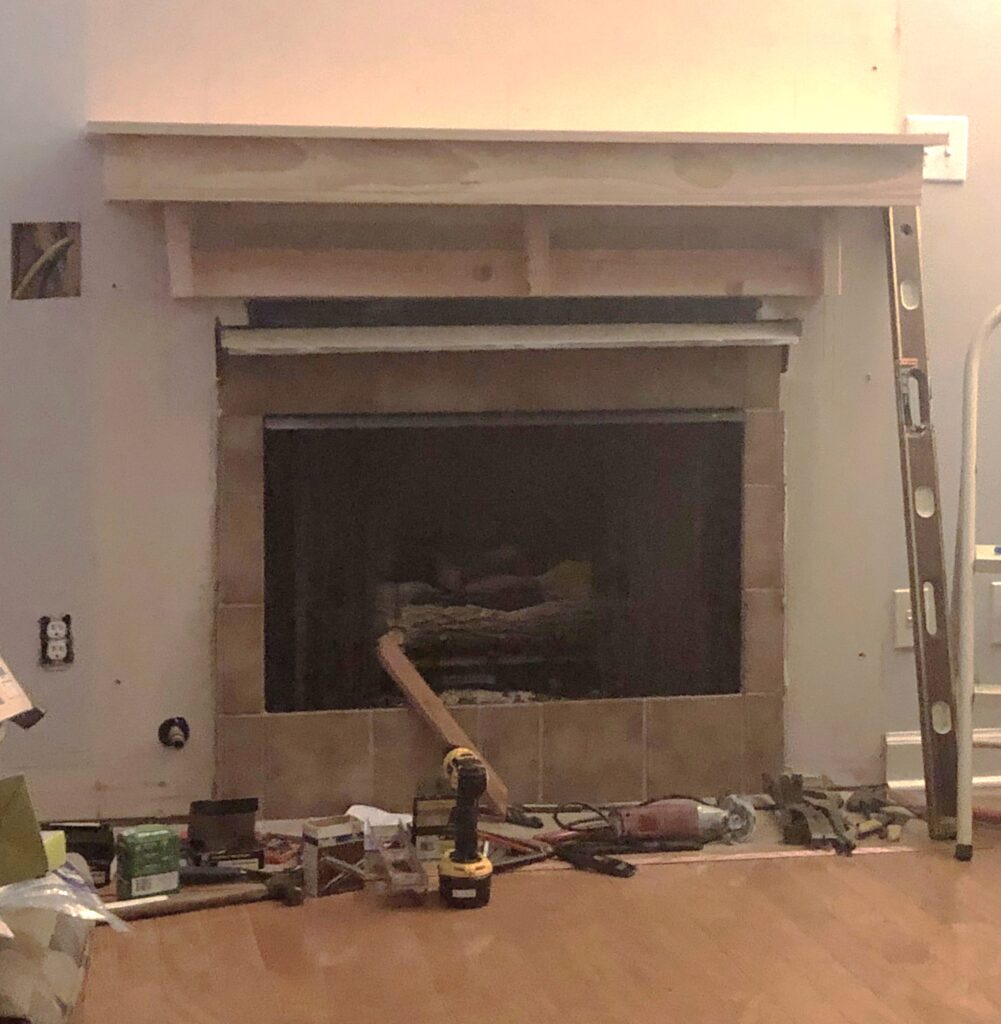
We were lucky enough to be able to remove the antique fireplace in one piece. After removing the mantle the fireplace tile surround was still intact. Next I started removing the old tiles. DEMO!!!! I LOVE demo. Part of DIY Fireplace Tile instruction is demo and how to start installation after demo.
I took a small pry bar and wide stone chisel and began removing the tile by getting the pry bar or the chisel to catch under the edge of a tile. The best way to get the get the chisel or pry bar to “catch” is to hammer them under one corner.
Of course you can remove the tile by putting on safety glasses and then hammer the tile to break it. I have used this method in the past and it was a great fun being able to vent my frustration. But be careful and wear gloves to prevent cuts from the sharp edges.
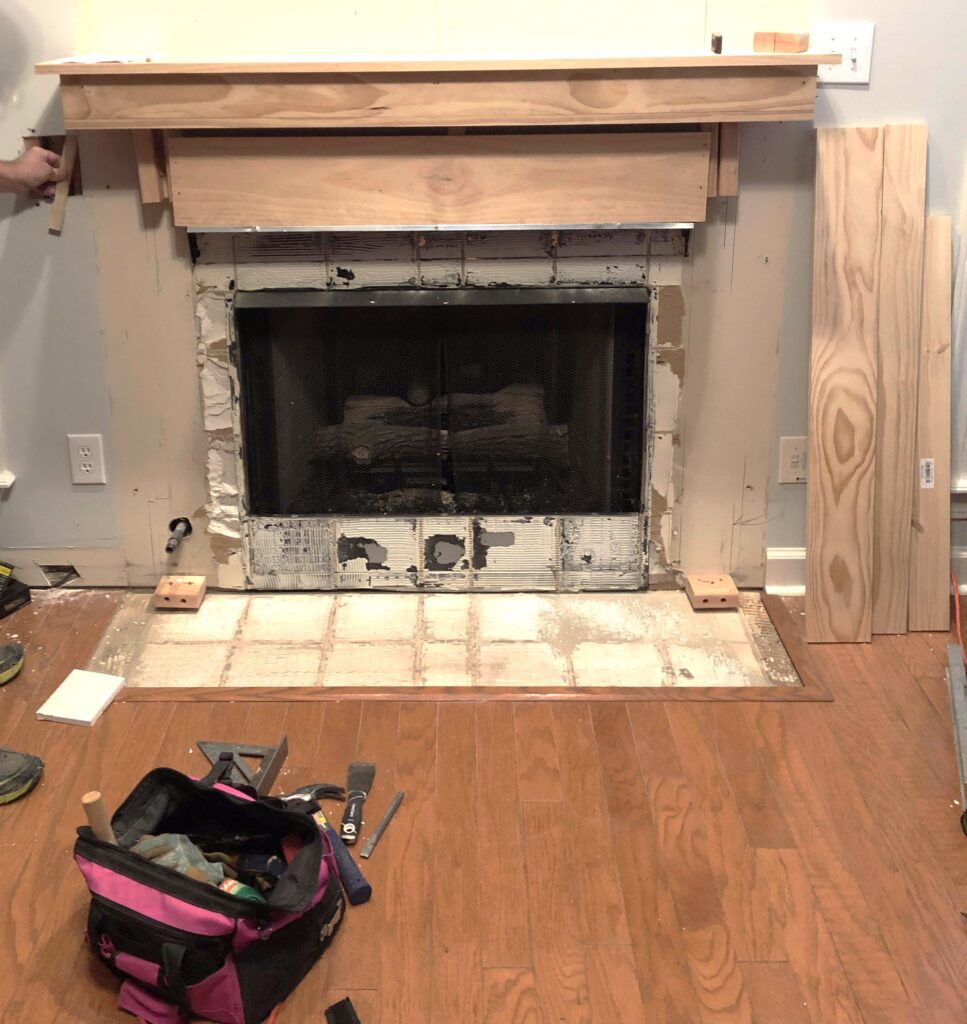
When the tile is removed, mortar will be left. The mortar ridges need to be removed to a smooth surface. I used a hammer and chisel to remove these ridges. Once the ridges were gone and the surface somewhat smooth, it was ready for tile.
Another part of DIY Fireplace Tile Instruction is how to determine how much tile you will need. You can determine how much tile is needed by measuring the surface area of the project either in feet or inches. Tile is sold either by piece or price/sq foot. Find the sq feet then divide it by the area of tile in feet. Or you can go to tile store, and tell them your measurements and they will tell you how much you need. Be sure to add 20% of the total number of sq feet to your tile amount because there will be breakage and cutting errors.
Next I prepped the surface by removing all the grit and dirt left from the tile removal. I like to use a shop vac to get the job done.
Now you will need to repair any drywall that was torn or damaged during the tile removal. You can see where the drywall to the left of the fireplace was torn in the picture above, so we removed the damaged piece and put a new piece in its place. You do not need to worry about taping and applying mud to the drywall since the adhesive and tile will cover the patch.
Next you will need to apply the adhesive with a trowel in the area you want to start laying the tile. With this I chose to do the floor area first so the wall tile could sit on top of the floor tile.
I found this video that is a great tutorial for complete tile installation including how to measure for the amount needed. This is specific to wall application of small tiles in a dry area.
I used a ¼ inch v shape trowel since I was using basically tile glue and not not thinset to place the tiles. And I was using a small mosaic tile on the floor and small subway tile on the wall. There are recommendations for what size trowel to use according to the size of the tile and type of bonding agent you use.
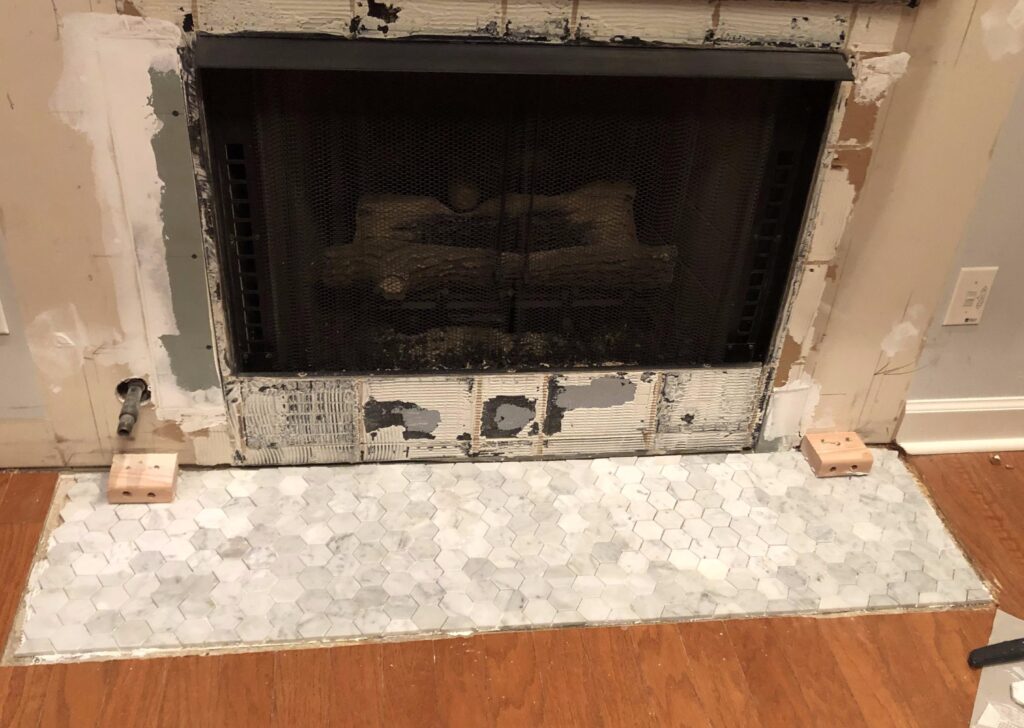
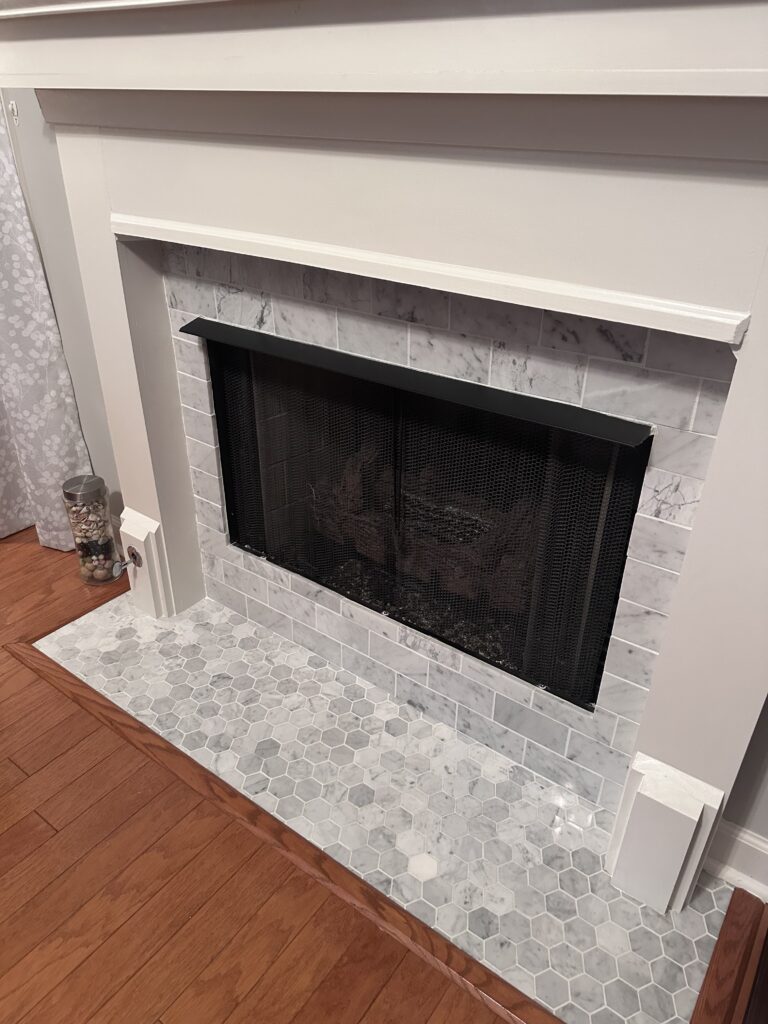
We used Carrara marble 2 inch hexagons for the floor. Don’t worry; you aren’t dealing with tiny small 2 inch pieces of tile. It is actually a 12×12 mesh sheet of attached 2 inch tiles. It is so easy to put down.
But you will need to cut the tile where the floor meets the wall. I used a wet saw to cut the tile. There is another option that scores the tile and then breaks it along the score line but I have only used the wet saw with all my tiling projects.
Apply the adhesive using the trowel. The next step is placing the tile starting in one corner. There will be a one edge that fits great and one that is a cut on ¾ of a tile and not that pleasing to look at. You want to put the easy side where the eye goes first. For this fireplace, that was where the tile meets the wall.
After finishing the tile on the floor, I went to work on the wall tile. Start at the bottom and work your way to the top of the fireplace. It is best if you can put chalk lines to help keep you straight, but on a project this small, I did not do that.
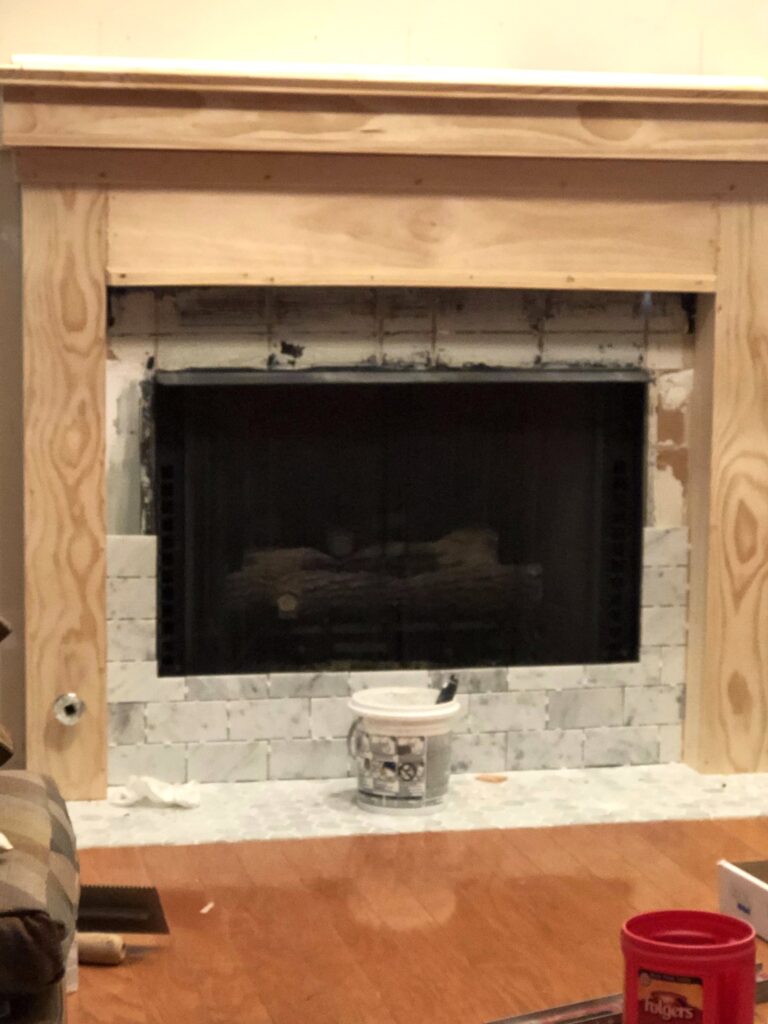
Start the wall by applying the adhesive with the trowel and then start placing the tile along bottom level. I used the ¼ inch spacers between the tiles for grout lines.
Spacers are available in different sizes and whichever size you choose will be the size of your grout line. I am amazed at how many different types of spacers there are. But for me, I choose to use the simple rubber plus sign.
Place the spacers at two at the top, two at the bottom and two on each side of the tile. I find that using two on each side keeps everything even and uniform. I applied the tile at least two vertical rows at a time. The third row needed to have cuts and cuts slow me down.
For the tiles that needed to be cut, I measured the space the tile needed to fit and then marked it on the tile. Then I cut the tile along the marks and placed it on the wall. We used a wetsaw for the cutting, but there are other tools that can be used. I found this video to show you 5 different options of cutting tile.
Once the tile application was completed I allowed it to dry for 24 hrs. I removed the spacers. The next step is applying the grout. I found this video that shows hot to apply grout. I used the premixed colored grout since it was such a small project. You can buy bags of dry grout and mix it if you have a large project.
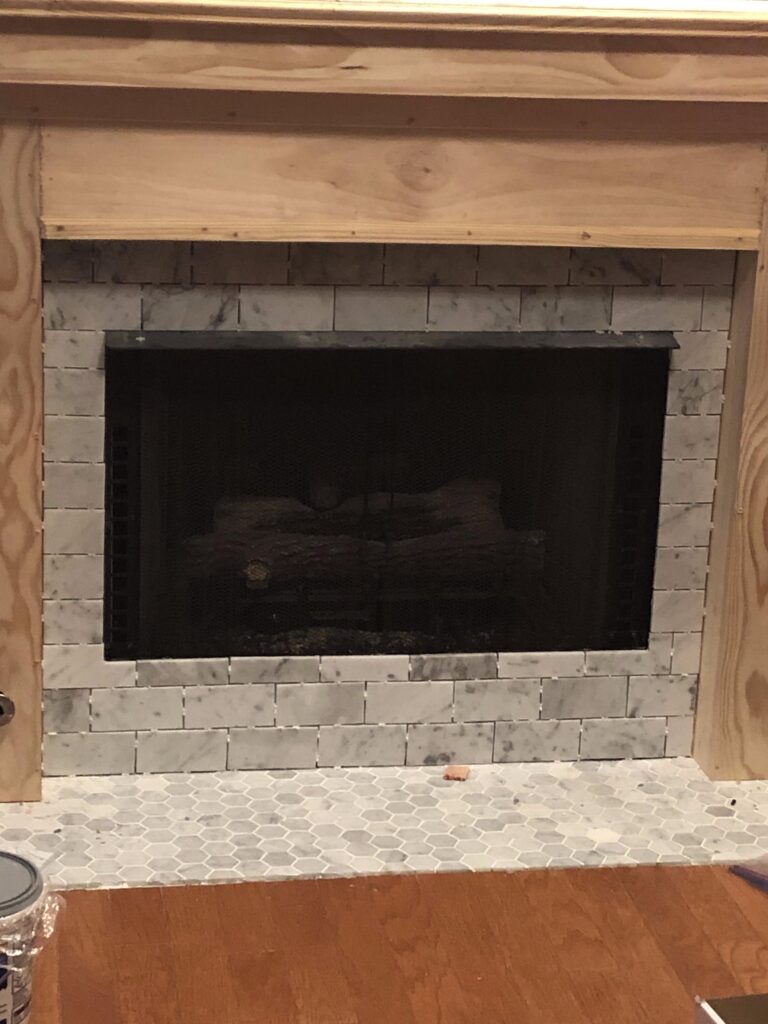
To apply the grout you will need a grout float. Dip the grout out using the float and rub it over the tile working it into the cracks. You will need to do only about a 1 to 2 foot area then remove the excess with a sponge and clean water. It will take a LOT of cleaning to remove the grit and film. I washed with the sponge and changed the water frequently until the project was done.
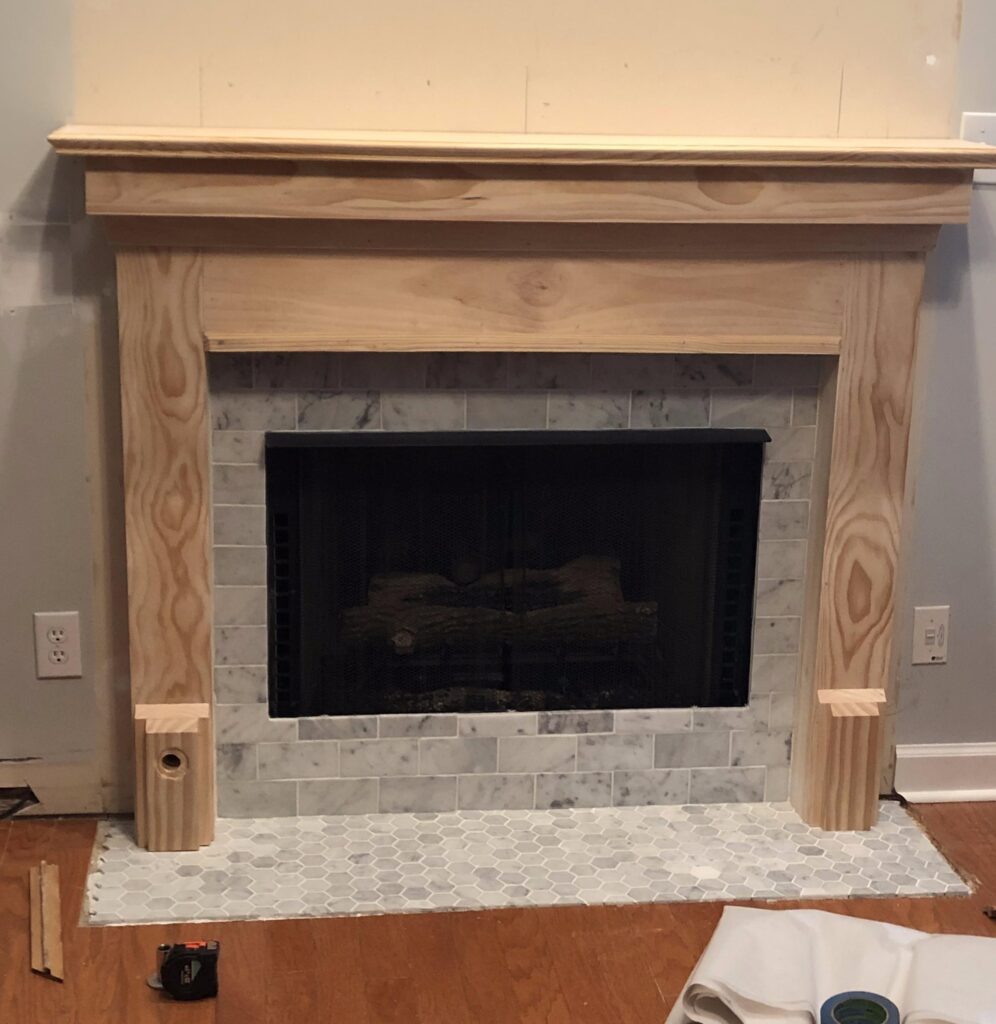
When I finished with the tile and the grout, it was ready to build the mantel. Just having the tile replaced was enough to make it look wonderful!

Fun Fact
Gardenias are one of my favorite flowers. It was also my dads favorite.
