Armchair Update
Do you have a chair that is outdated but don’t have it in the budget to buy new? Learn to replace the upholstery and have a brand new chair
Upholstery redo is a great way to update a piece of furniture if you are tired of looking at what you currently have. I hate trying to choose new furniture. The reason I hate it is because what I really like is usually out of my price range. So, when I wanted to create a sitting area in our master bedroom, I needed a couple of arm chairs. But I just couldn’t make myself spend a lot of money. Don’t get me wrong, I LOVE to spend money, but on other things (like travel).
I have only changed the upholstery a rocking chair as a gift for my sister years ago. And I have recovered dining room chairs (which is soooo easy). But if I saw a piece that would look good restored, I would let myself be talked out of trying.
Did I mention how lucky I am? I have the BEST husband now that encourages me to do things that I want to try. He says “what’s the worst that can happen?” We have an outdated armchair in the living room that we are planning to donate. This gave me an opportunity to try a big upholstery project. I decided to use it in the sitting area after refinishing it. The chair was well made and sturdy, but had out of date fabric. So we decided to look for another chair like it and recover them both in the same fabric.
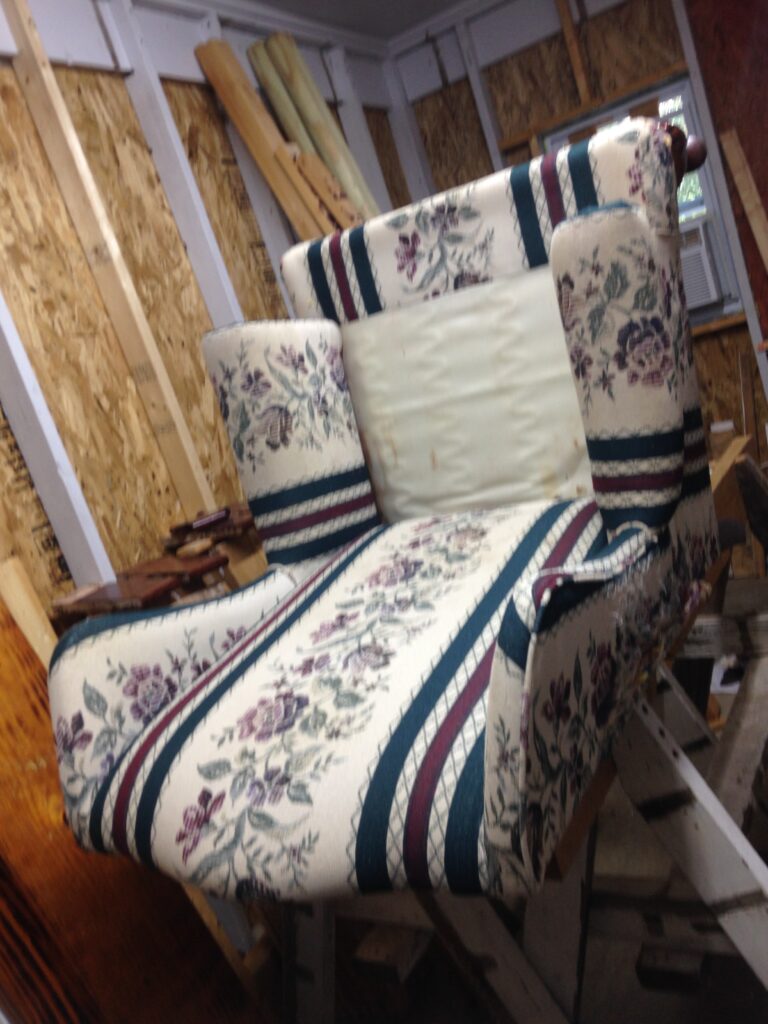
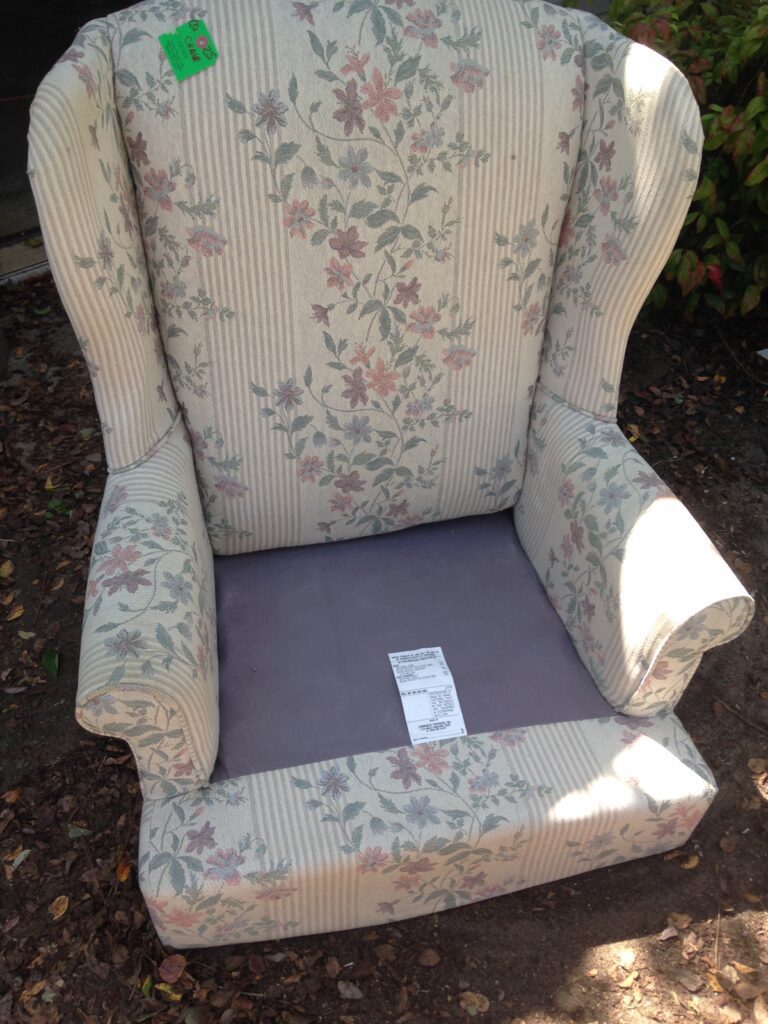
In order to limit what I spent, I decided to go to the local thrift store and see if I could find a chair like it. I love a good thrift store and I am lucky enough to have two great ones within 3 miles of my house. Bingo, I found a match of the chair and it was in good shape. It was a sturdy chair with outdated fabric. The price was around $30 and that is a price that I don’t mind spending.
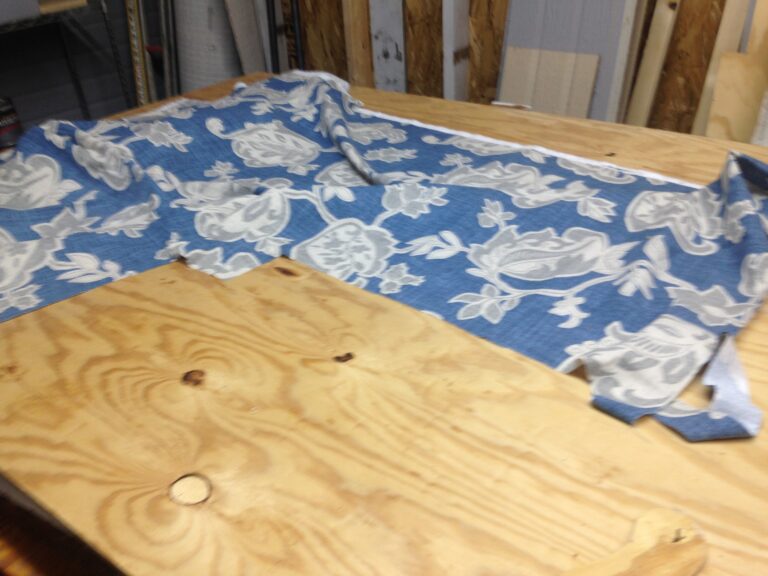
Now, I needed to find the fabric. I don’t sew very much and was never great at it. But I do love to shop for fabric. And the area I was originally from was a leader in the furniture industry so there were several fabric stores that carried upholstery and drapery fabric. But I had moved out of that area about 3 years before and the only type of stores where I live now are stores like Joann’s or Hobby Lobby. These stores don’t have a lot to choose from and the pretty fabric is usually very expensive (think around $40/yard). I discovered that Old Time Pottery had upholstery remnants at reasonable prices but very limited selection. I was lucky enough to find something that I really like and would work in the room. AND it was around $5.00/yard. SCORE
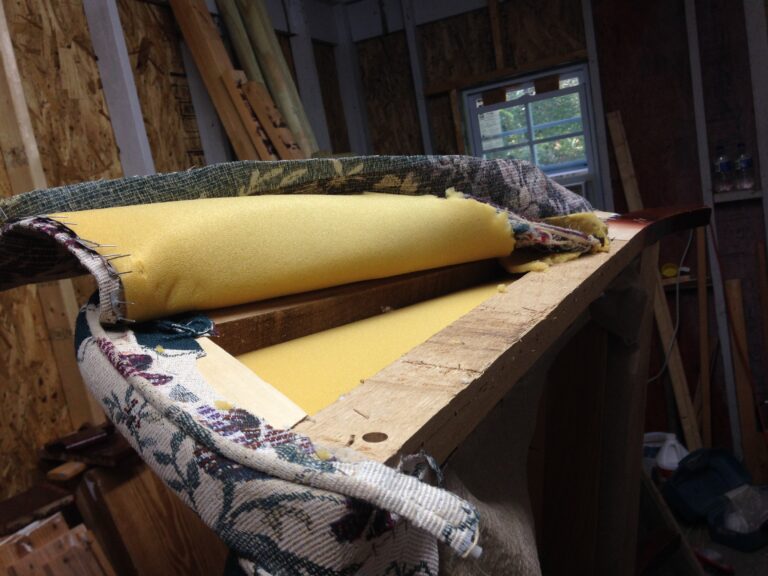
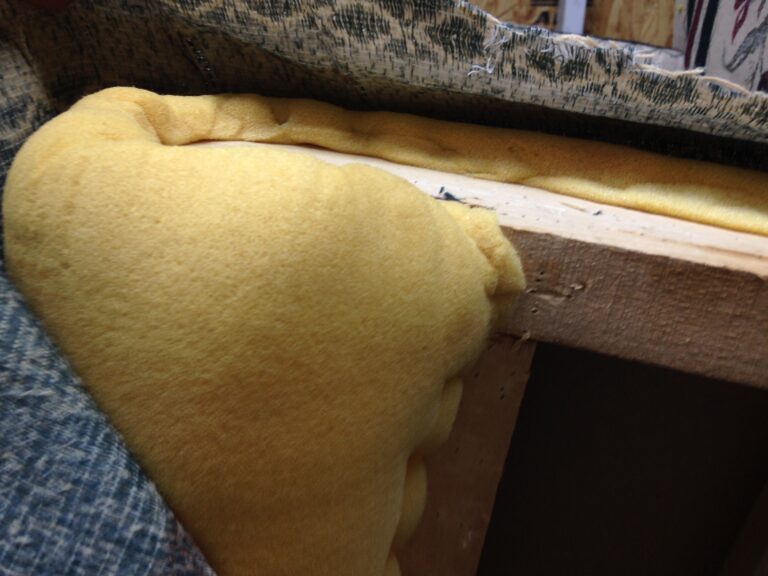
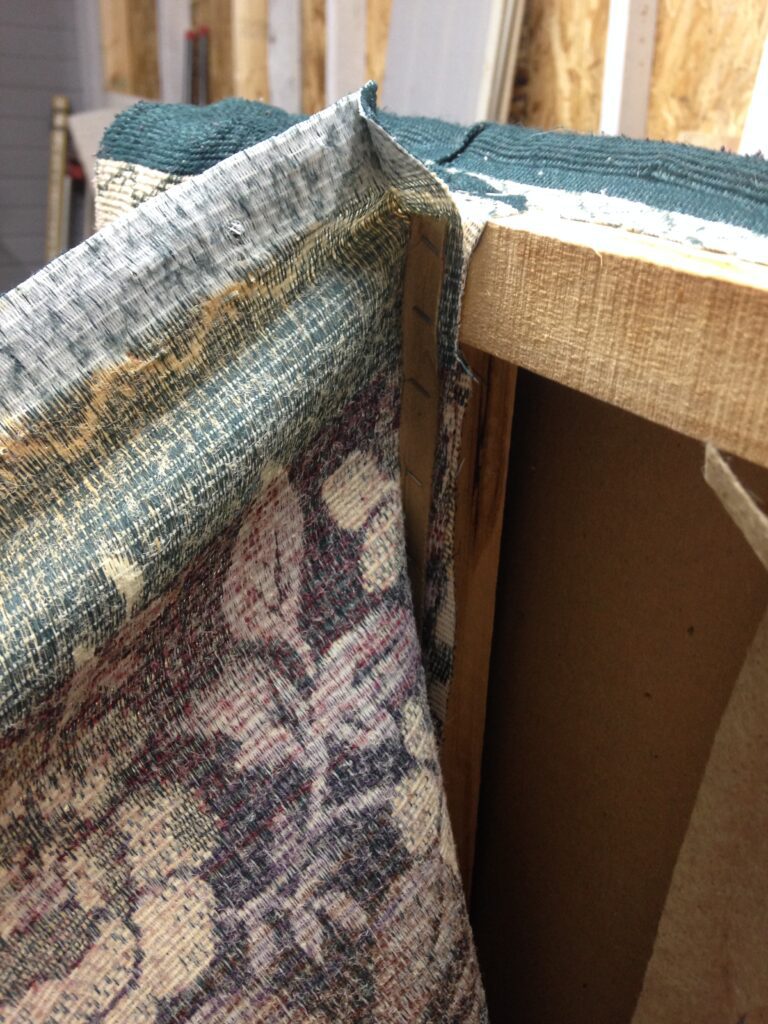
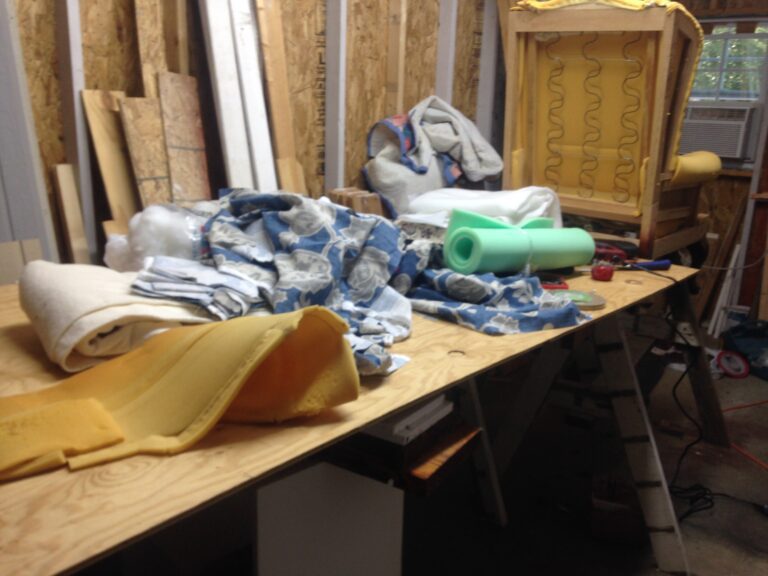
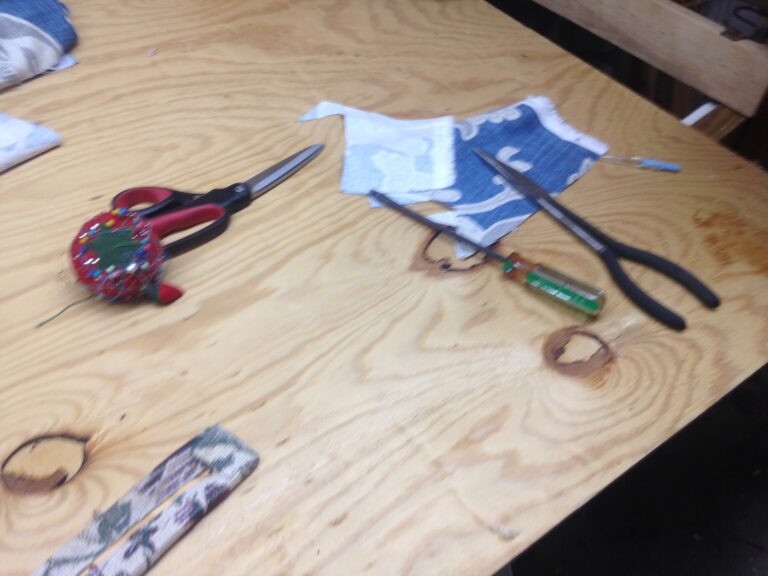
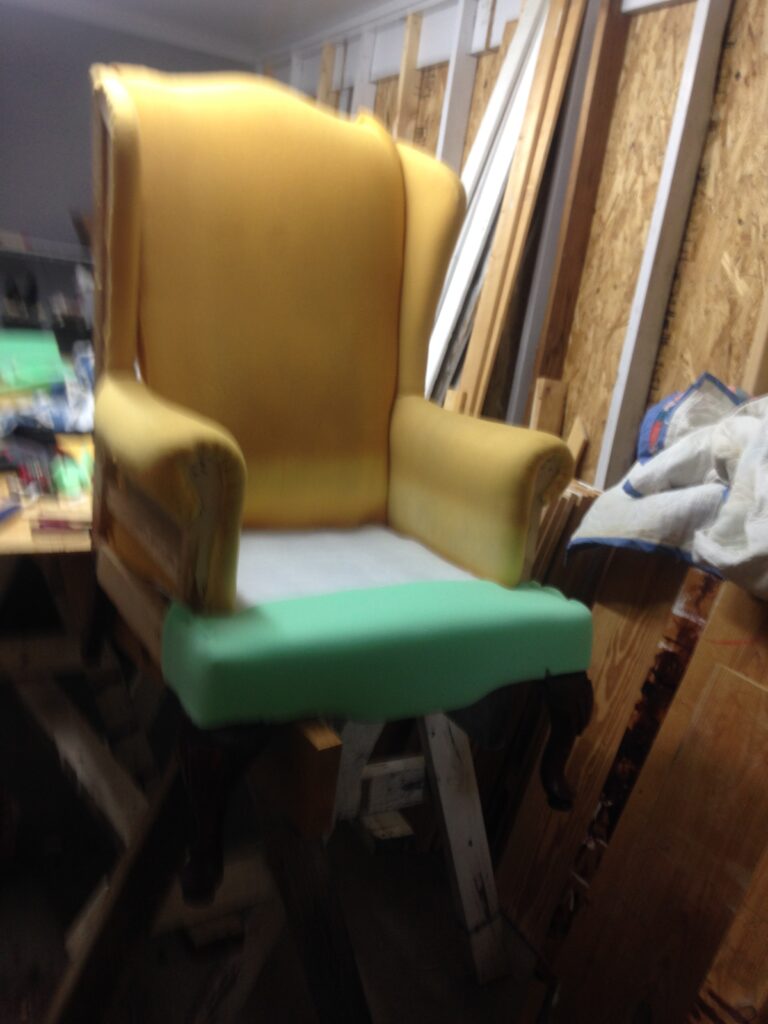
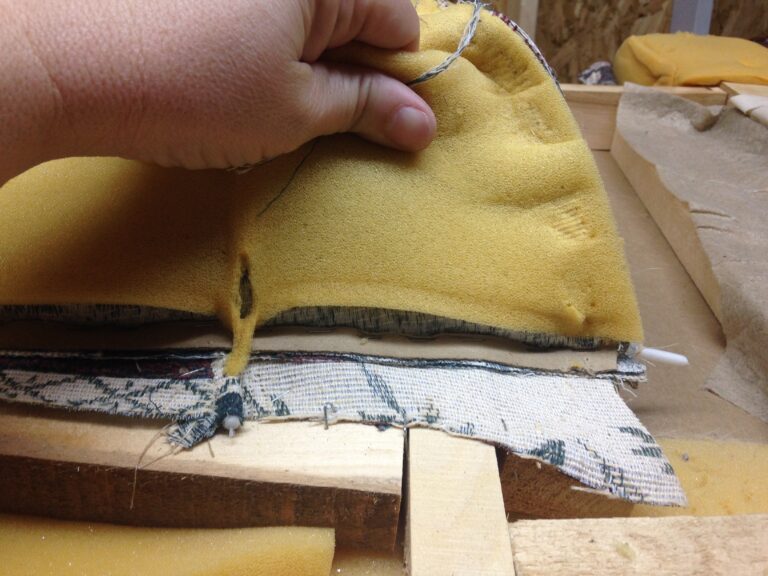
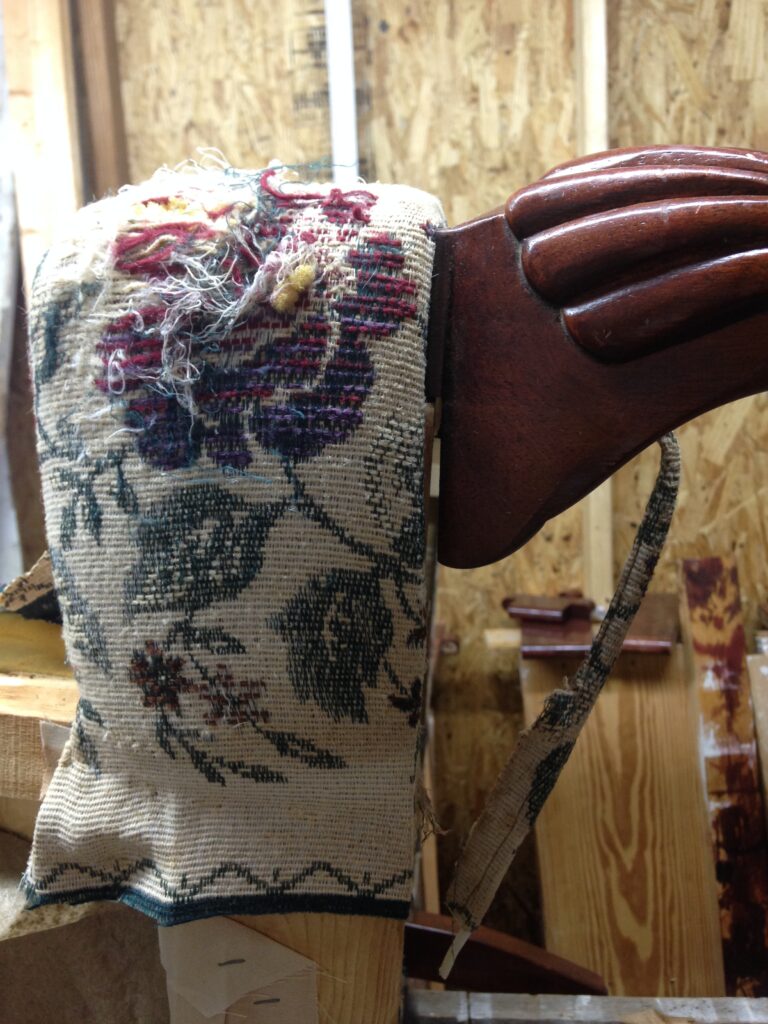
I decided to work on one chair from start to finish then do the other one. So I started by removing the fabric from the chair one piece at a time. It is all stapled into place, so you find the staples and start removing them. I used a flat screwdriver to pry the staples off. If they twist and can’t be removed by the screwdriver, then use a set of long needle-nose pliers to pull the staples out. You will want to keep the old fabric intact so you could use it as a pattern to cut the pieces to replace. Because I easily forget, I also took plenty of pictures so I could remember how each section was stapled in place.
Since I would be stapling them onto the chair, I needed something other than a manual stapler. So I bought an Arrow Brand electric stapler to use. I would like to get one that uses an air compressor but I not been doing very many upholstery projects lately so I am not making that investment.
After removing the old fabric, I checked the padding that was there and it was in good shape. If it needed to be replaced, you can buy get padding and foam at Joann’s.
The only sewing that is involved in this project was the seat cushion cover. Don’t worry, its only sewing straight lines. Even placing a zipper is sewing straight lines. If you don’t want to sew the zipper you can use Velcro. You will need to use a wide piece of Velcro to keep it from pulling apart when you sit on it. The best choice is to put in a zipper. If the seat cushion is not wrapped in cotton padding, take the extra step and do this. It makes the cushion more comfortable and look more finished.
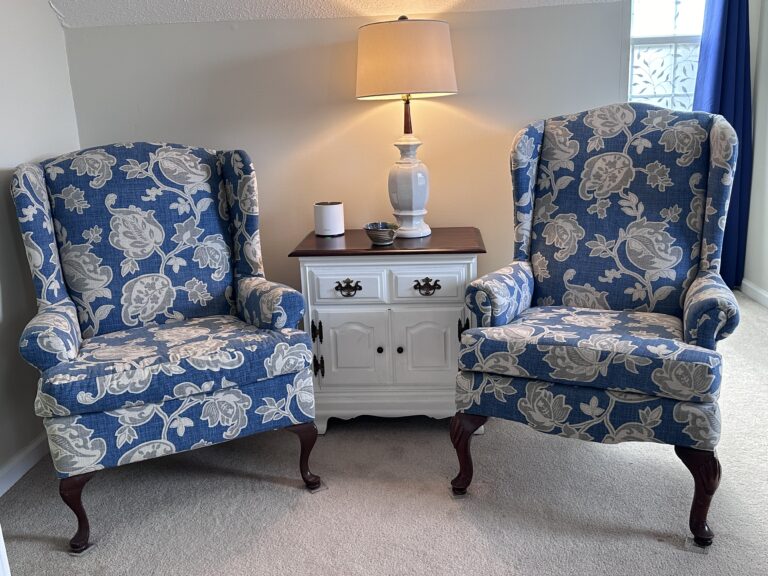
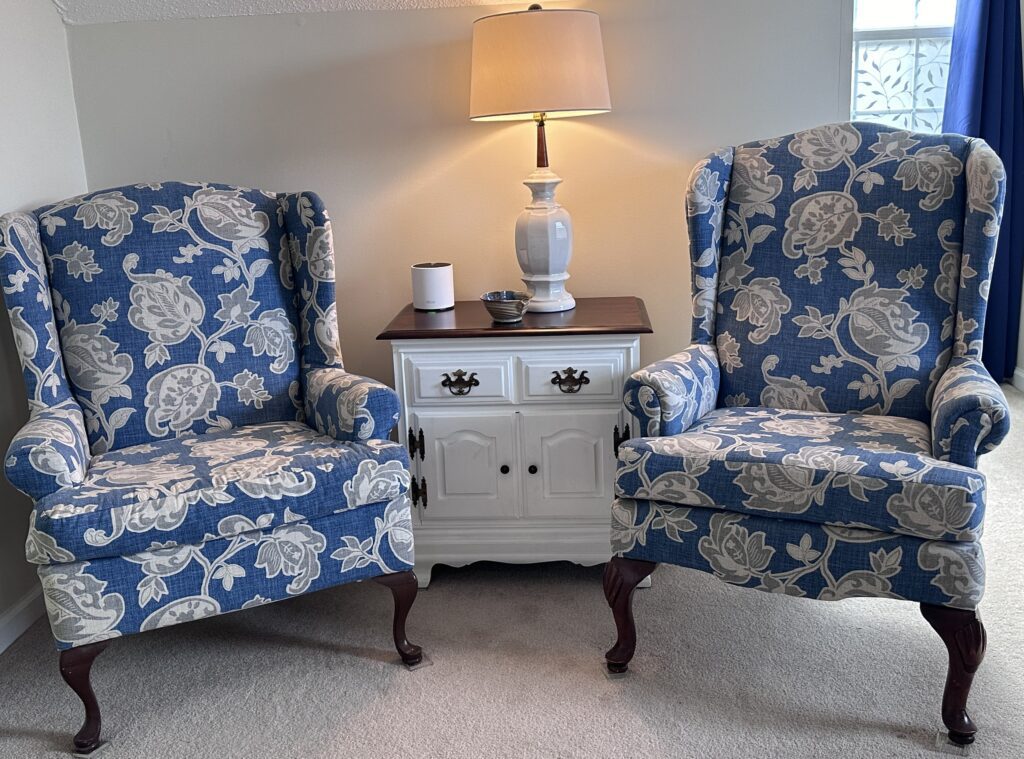
After finishing the first one, I did the same thing for the second one. The chair leg colors matched so I didn’t do anything to them. The cost for the chairs was much less than I would have paid for new chairs and I have a pair of chairs that fit the space and match the color scheme perfectly.
Upholstery Steps to Follow:
- Remove the old fabric by pulling the staples out of the wood.
- Use the old pieces as patterns to cut the new pieces of fabric.
- Remove and replace worn or deformed cushions and padding.
- Cover the piece with the pieces of new fabric, making sure to pull the fabric tight to prevent wrinkling and secure with staples.
- Sew cushion cover and place over cushion.
