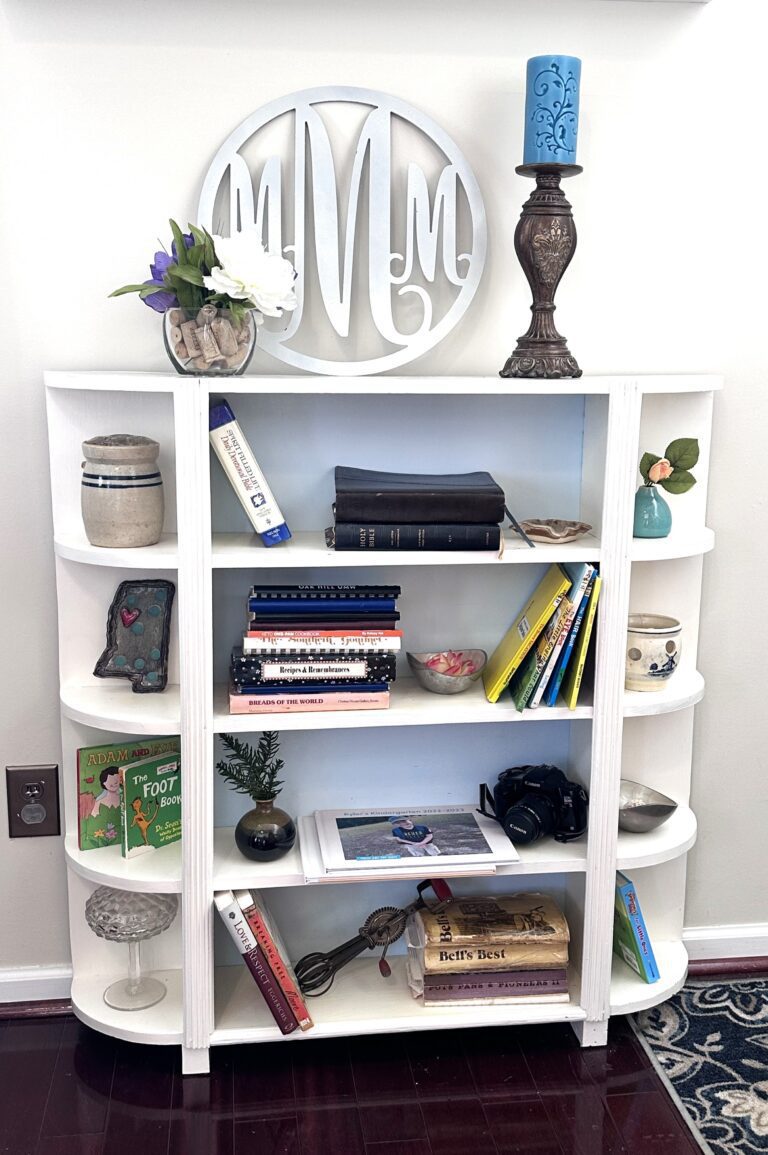
How many times do you look at an old bookcase and think, “I have gotta have it!” If you are like me, that has never happened. I like getting a chest that has doors or drawers and things can be out of sight. I am not very organized and hiding things behind doors or in drawers make it seem like I have got it all together.
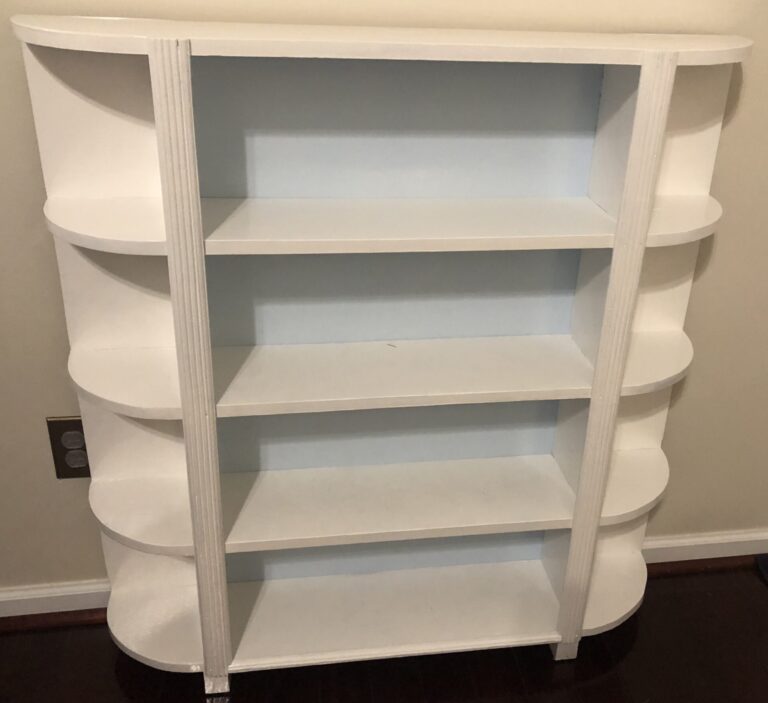
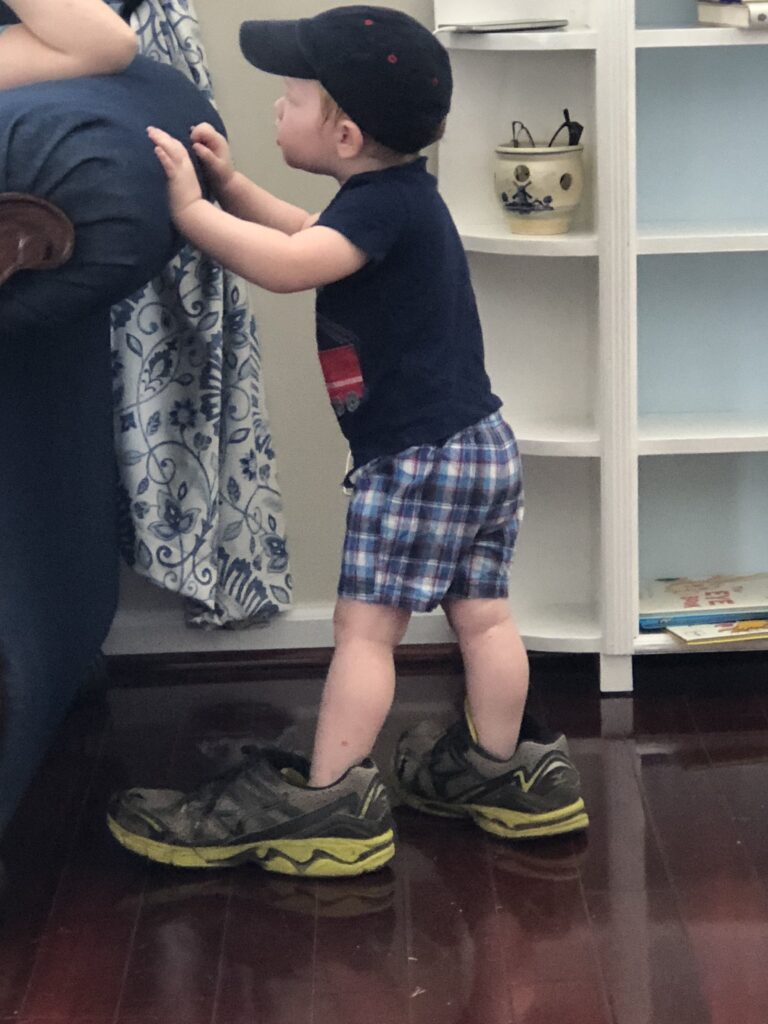
This bookcase was built by my grandfather. It was added to our house after my grandfather died when I was about 7 or 8 years old. Mom placed it in the hallway under the phone.
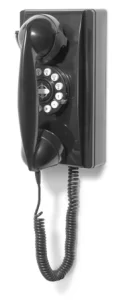
You may not be old enough to remember not having cell phones, but before cell phones, the phones were attached to the wall. This bookcase was placed beneath the phone. Of course the bookcase held books but also served as a “desk” to write down phone messages or numbers. And I used it often. When I was in high school I would spend hours sitting in the floor beside the bookcase while talking to friends and of course the boyfriend. I memorized everything about it.
The bookcase stayed in that place until my parents moved into a personal care home and the furniture was moved out of the house. None of the family wanted the bookcase. I couldn’t donate it or give it away with it being such a constant part of my life, but I didn’t love the way it looked. Yes the wood was pretty, but you can have too much “wood” in your home and I have enough already. I decided to take it and paint it. There are people out there that would not like the idea of painting wood. This is what I mean by making the furniture fit for you. If you don’t like wood and want to keep the piece, there are plenty of options.
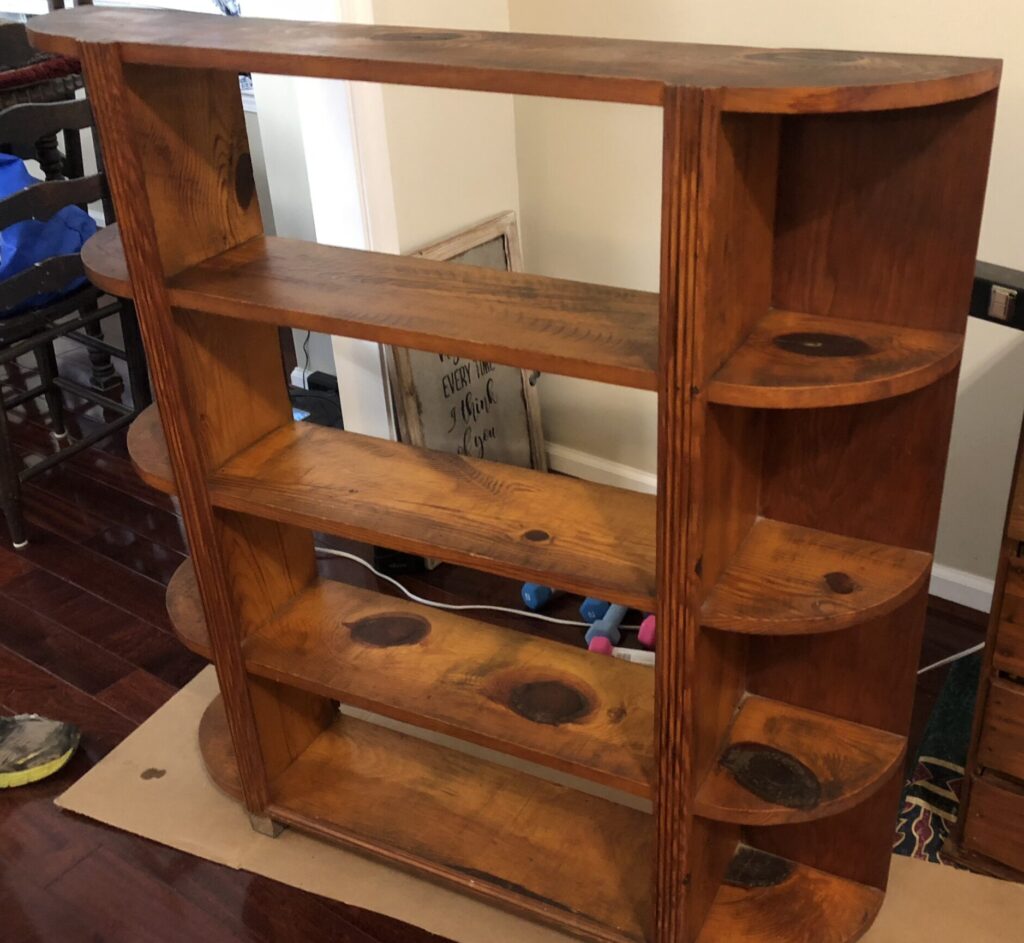
Begin by cleaning to remove years of use and see what you have. This is what I found. There were several dark spots also known as knots in the wood. These are very hard to cover with paint and will show through if not primed. And there wasn’t a back on the piece. I wanted it to have a back.
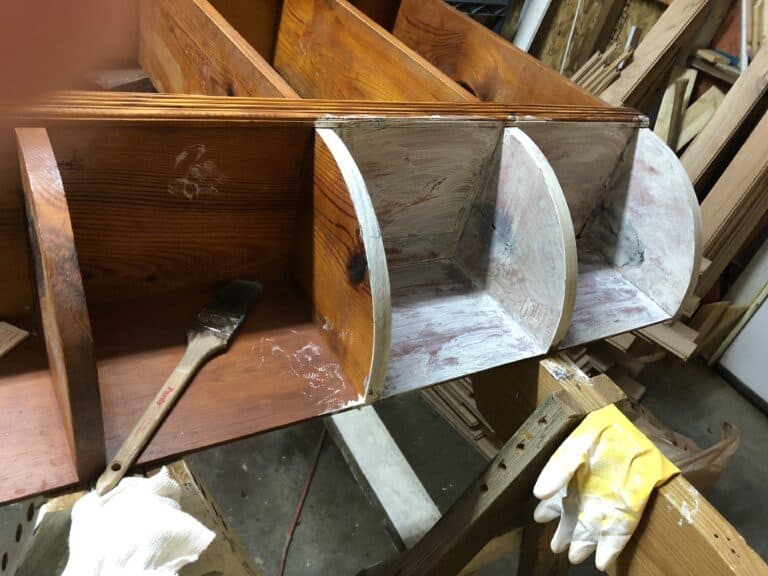
I chose to paint it white because I wanted a crisp clean look. With the knots bleeding through the paint, it would need to have primer applied. Primer serves two purposes. First it prepares a surface that allows the paint to stick better. Second, it stops the wood grain color from showing through the paint.
But the prime must first stick to the furniture and it won’t if there is varnish, polyurethane, shellac or any oil based surface. If these are on the wood, it will allow the paint and primer to peel. To keep this from happening, you will need to remove the top surface. You can do that in three different ways. Sanding the surface, using a paint remover and scraper or using a surface prep like Krud Kutter Gloss Off to prepare the surface for paint. I chose to use paint remover. Follow the instructions on the container and be sure to wear eye protection and gloves and use the product in a well ventilated area.
After you have prepared the surface, you will need to sand with 220 grit paper to smooth any blemishes. You can go higher but it really isn’t needed. After the final sanding, you will need to remove the dust left behind. You can spend money and buy a tack cloth which will remove dust very well. You can also use an air compressor to blow off the dust, but the best method I have found is to use a leaf blower and hold the tip very close to the item. This works fine for paint. If you are going to refinish the wood and cover in polyurethane, use both the leaf blower and tack cloth, in that order.
Next apply the primer. I use Kilz 3 but you will need to apply at least 2 coats of primer on both new and old wood. I have learned from my mistakes. I used to think new wood only needed one coat of primer. But in a bath remodel, I only used one coat of primer on shiplap and then 2 coats of very good Behr paint, but now 2 years later, knots and woodgrain streaks are showing through. Now I will have to repeat the entire procedure again….
So, save yourself a headache and use at least 2 coats of primer. If you have dark area you are worried about, add extra coats on the dark areas. Once the primer is dry and everything is covered, then begin painting.
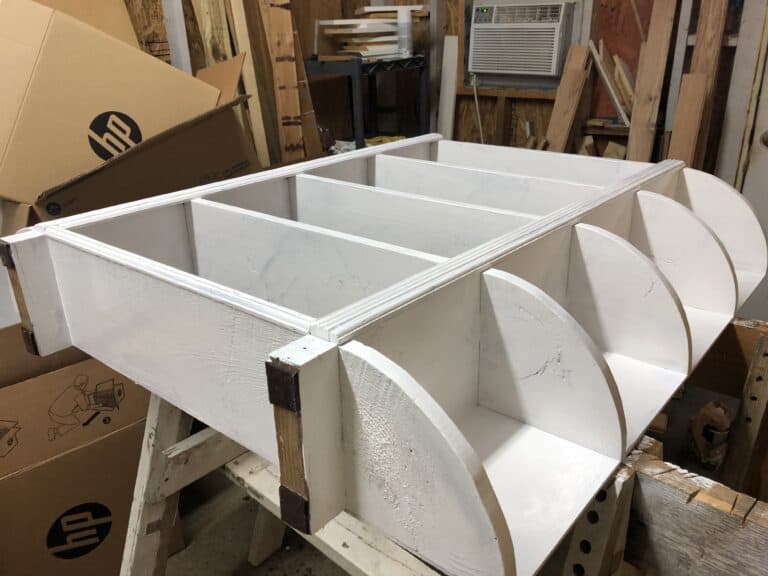
Most all paints say they have one coat coverage. I have used very good paint and have always had to use more than one coat. You will need at least 2 coats of paint. And if you have picked a color like red (red furniture, how interesting…) you may need more than two coats to make sure the color is even. After it was painted, I was ready to add a back to the shelf.
I asked my husband to put a back on the shelf. We used Luan plywood which has a smooth surface and was just the thickness that would work. I didn’t want the color of the new back to be the same as the rest of the cabinet. I chose a very light blue. Did I mention that I LOVE blue. And yes, I have too much in my house but oh well, it is my house so I want to be happy when I look around.
